Okay, so I’ve been wanting to do something about my fireplace for a while now. It was just so plain and boring, and I wanted to give it a bit of a facelift. I’m no expert, but I figured, how hard could it be to put up some bricks? Turns out, it’s not rocket science, but it does take some doing.
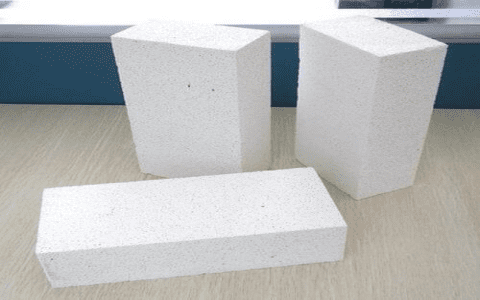
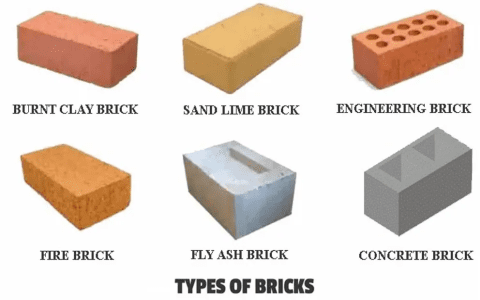
First off, I had to figure out what kind of bricks to use. I learned that for fireplaces, you gotta use these things called firebricks. They’re made to handle the heat without cracking or getting messed up. Regular bricks just won’t cut it when you’ve got a roaring fire going.


Once I got my hands on the right bricks, I started looking into how to actually get them up there. I watched a bunch of videos online, and it seemed pretty straightforward. The plan was to basically create a new layer on the inside of my fireplace with these firebricks.
- Gathering the stuff: Besides the firebricks, I needed some mortar, which is like a special kind of cement. Also got a trowel, which is a little shovel thing for spreading the mortar, and a level to make sure things were straight.
- Prepping the area: I cleaned out the fireplace as best as I could. Didn’t want any soot or old stuff getting in the way. Then, I made sure the surface where I’d be putting the bricks was clean and ready for the mortar.
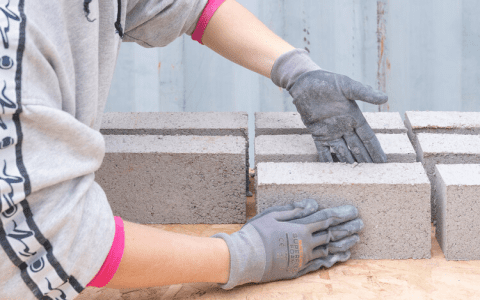
- Laying the bricks: This was the fun part, well, sort of. I mixed up the mortar according to the instructions – it’s kind of like making a really thick paste. Then, I started spreading it on the fireplace and on the bricks and sticking them together. I tried to keep everything level and neat, but man, it’s trickier than it looks.
- Drying time: After getting all the bricks in place, I had to let the whole thing dry. This took a couple of days. I was itching to see the final result, but I knew rushing it would be a bad idea.
The result
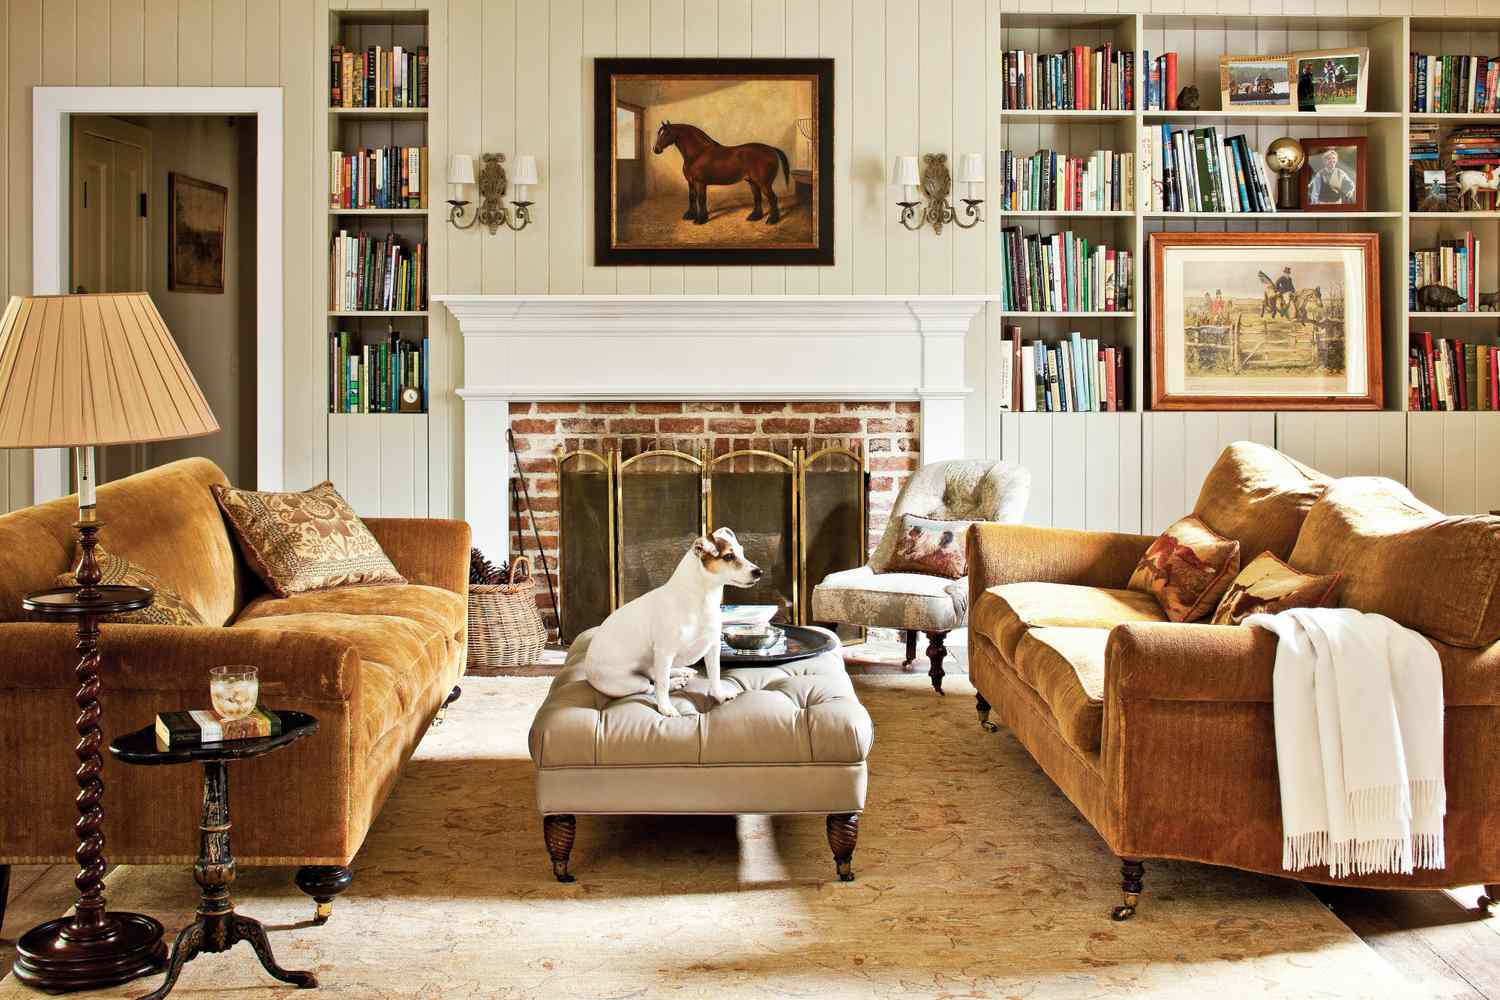
Honestly, it turned out better than I expected. It wasn’t perfect, there were a few spots where the mortar was a bit uneven, and some bricks weren’t perfectly aligned. But overall, it gave my fireplace a whole new look. It felt more robust, more like a real, old-school fireplace. Plus, I did it myself, which was pretty cool.
The best part? It was pretty cheap to do. I just bought the materials, and the rest was all my own sweat and effort. Saved a ton of money compared to what I would have paid someone to do it for me. And now I have a fireplace that actually looks good and can handle a good fire. That was awesome.
I guess the lesson here is, don’t be afraid to try stuff yourself. It might seem daunting at first, but with a little research and some elbow grease, you can get some pretty decent results. Plus, you get the satisfaction of saying “I did that.”
I also thought about painting the walls and ceiling. You know, maybe a dark blue or green to make the fireplace look better. The light color of my walls now makes it stand out too much, like a big piece of furniture that doesn’t fit.
So, yeah, that’s my fireplace brick adventure. Not too shabby for a first-timer, right?


