Today, I decided to roll up my sleeves and build a brick BBQ grill in my backyard. I’ve always loved the idea of having a permanent grill, and I figured, why not? It’s a fun project, and I get a cool new addition to my outdoor space.
First things first, I needed to gather my materials. The most important part, obviously, was the bricks. I did a bit of research and found out that it’s really important to use the right kind of bricks. You want firebricks because they can handle high temperatures. Regular bricks might crack or even explode, and that’s definitely not something I wanted to deal with. I made sure to get some hard, well-burned firebricks at the local hardware store.


After getting the bricks, I collected the rest of my supplies. I needed mortar, which is basically the glue that holds the bricks together. I also grabbed a trowel to spread the mortar, a level to make sure everything was straight, and some other basic tools like a measuring tape and some string to mark out the area where the grill would go.
The first real step was laying down the foundation. I chose a nice flat spot in my backyard and marked it out. I dug a shallow trench and filled it with concrete. This part was a bit tricky because I had to make sure the foundation was perfectly level. I used my level a lot during this stage, double and triple-checking everything.
Once the foundation was set, which took about a day to dry, I started laying the bricks. I mixed the mortar according to the instructions, making sure it wasn’t too runny or too thick. Then, I started laying the bricks one by one. I’d spread a layer of mortar on the foundation, place a brick, tap it down gently, and then check it with the level. It was slow going, but pretty satisfying.
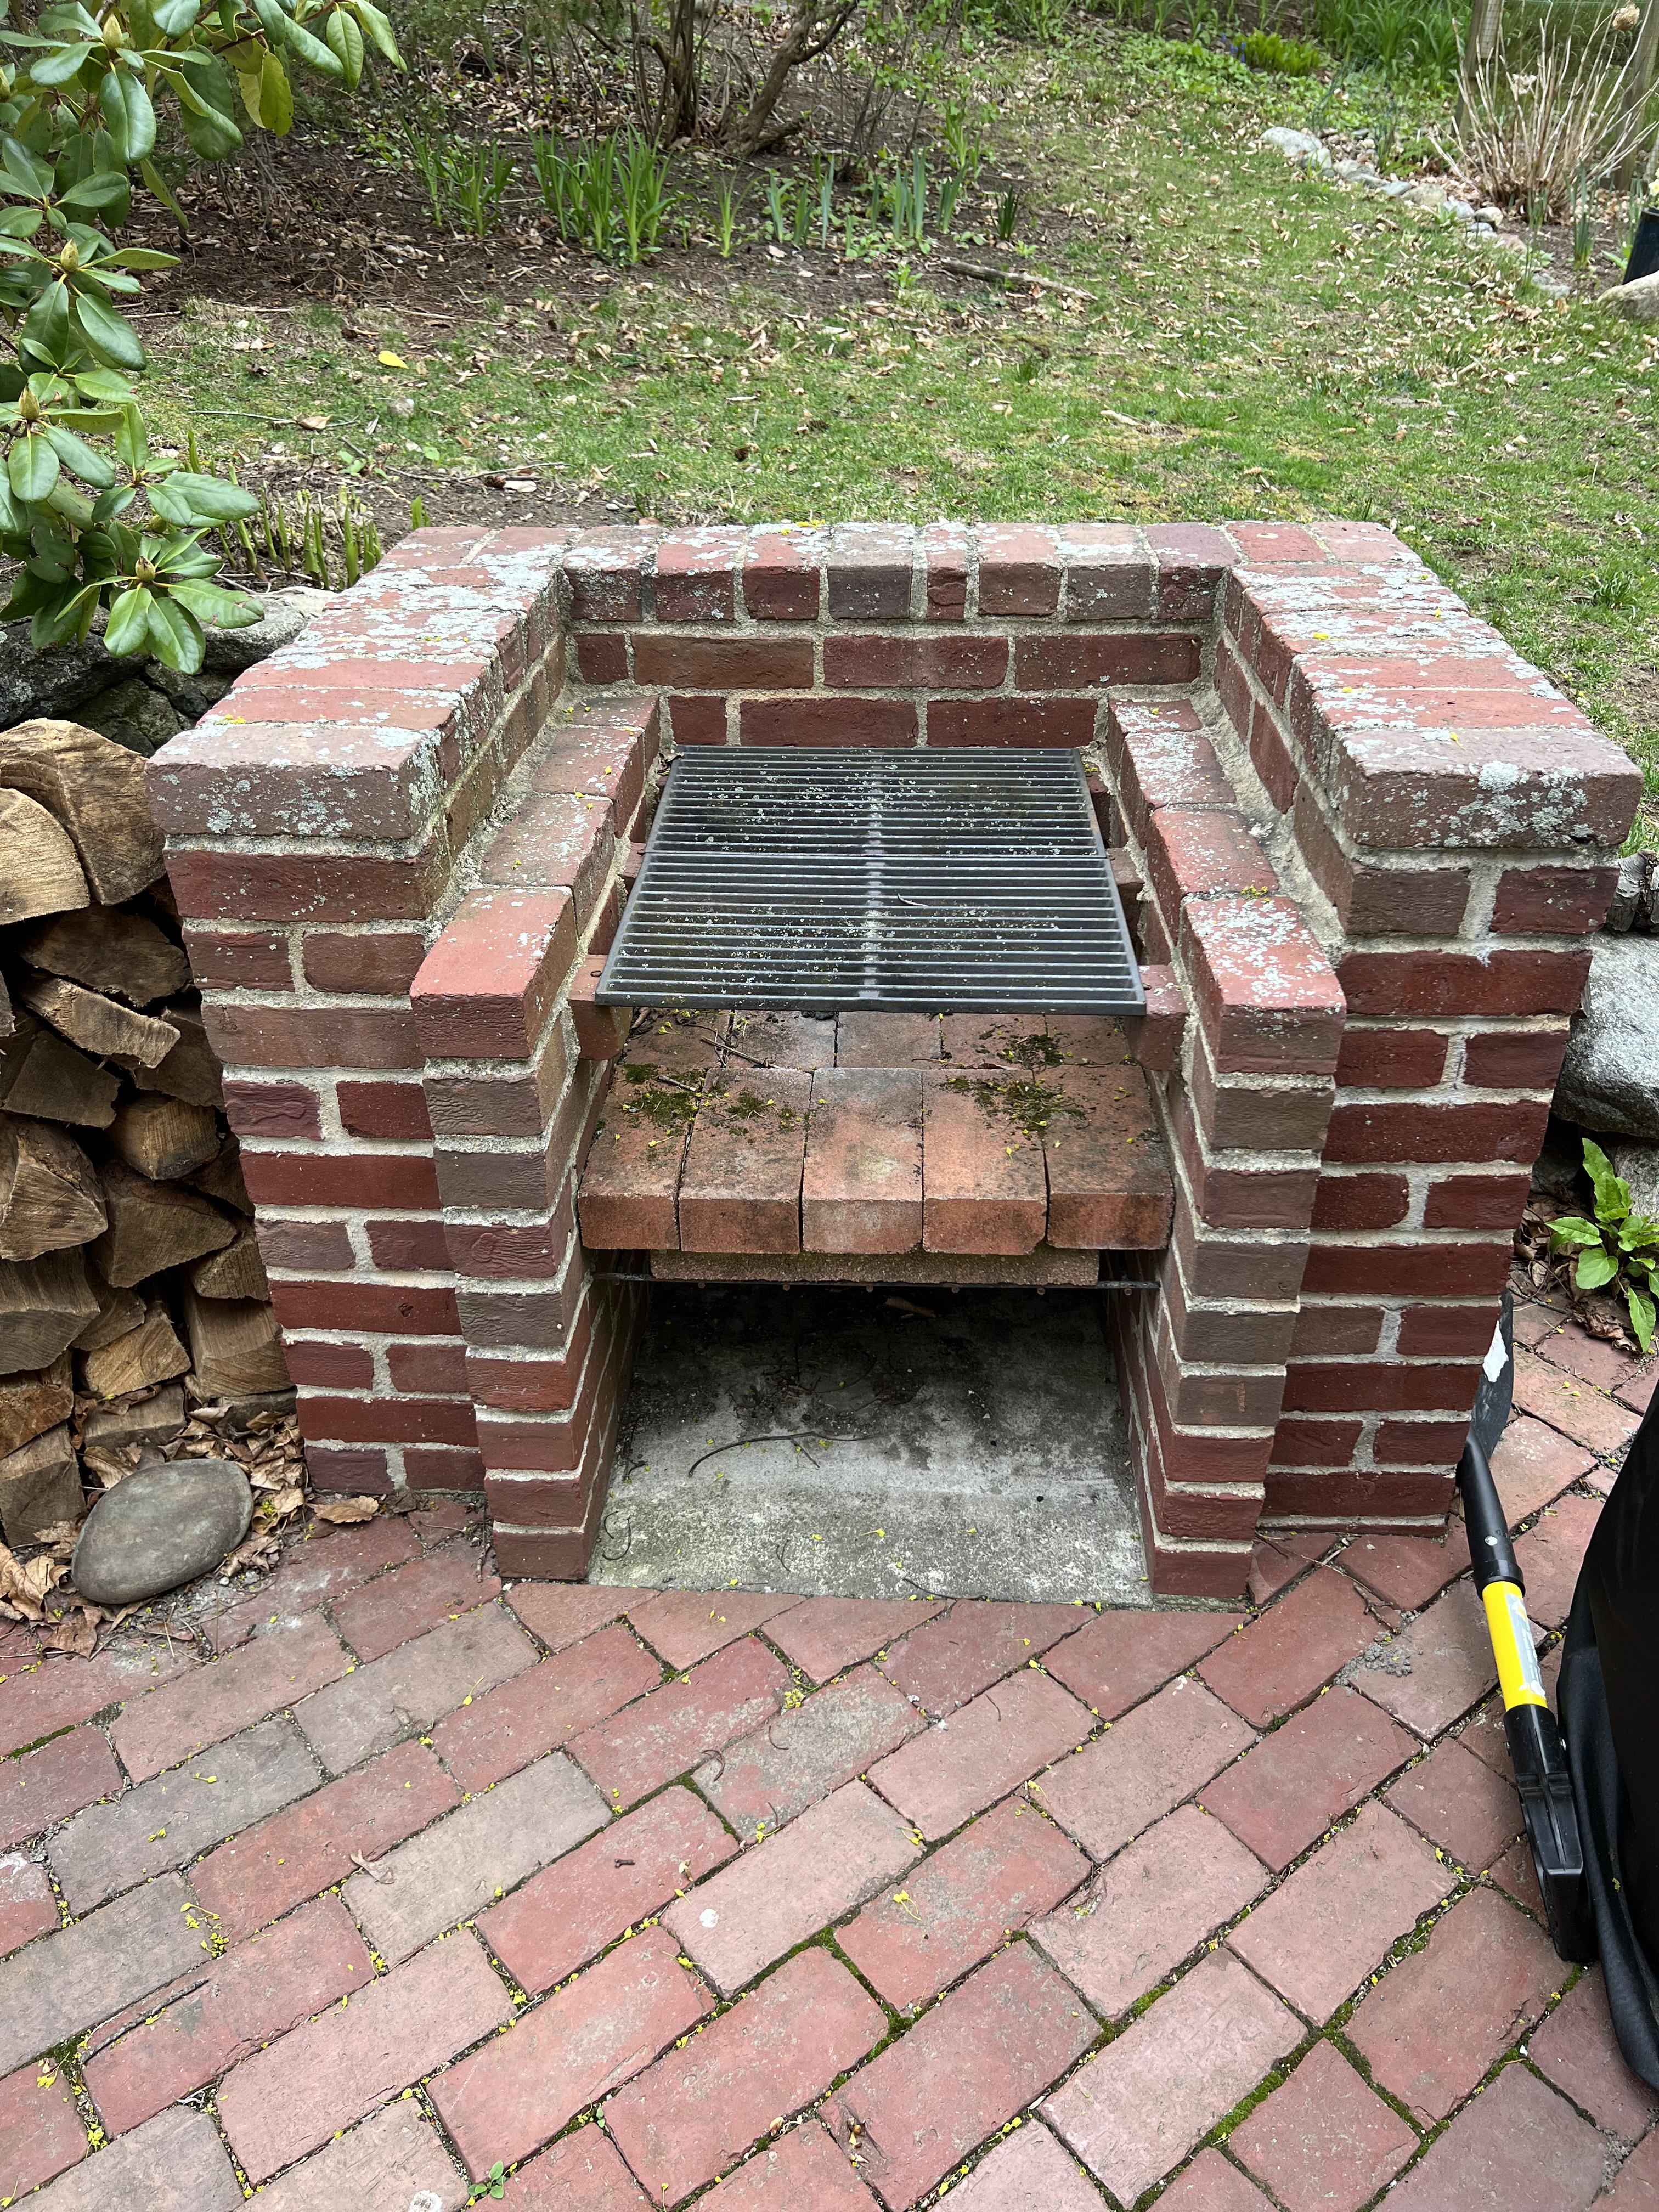
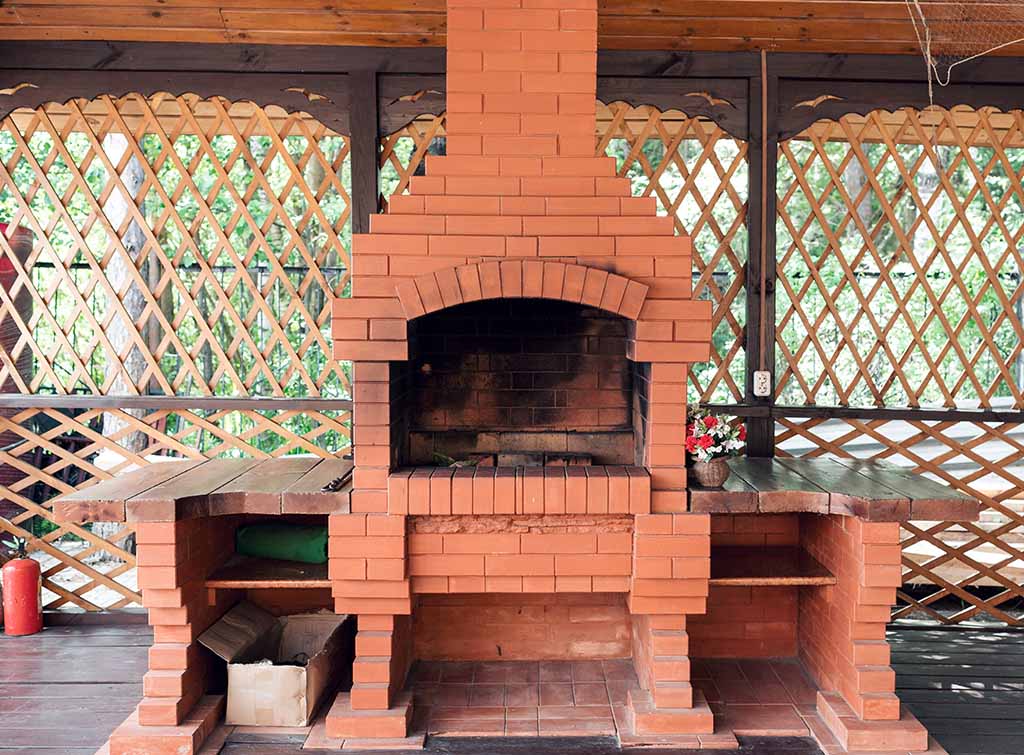
I decided to build a simple rectangular shape for the grill. I built up the walls layer by layer, making sure to stagger the bricks for added strength. As I went higher, I had to be extra careful to keep everything level and plumb. It’s like building with giant LEGOs, but way messier and more permanent.
After a few days of work, I finally had the basic structure done. I left some spaces in the brickwork for airflow, which is important for a good fire. I also added a couple of metal grates that I picked up – one for the charcoal and one for the food. These had to be placed at just the right height so that the food wouldn’t be too close or too far from the heat.
The last step was letting the mortar cure completely. This took a few more days, during which I resisted the urge to fire it up right away. Patience is key, as they say.
Finally, the day came when I could use my new grill. I invited some friends over, bought some meat and veggies, and we had a great time. The grill worked perfectly, and the food tasted amazing. There’s just something special about cooking on a grill you built yourself.
Looking back, it was a lot of work, but totally worth it. I learned a lot about bricks, mortar, and building things in general. Plus, I now have a permanent BBQ grill in my backyard that I can use anytime. It’s a great conversation starter and a testament to what you can do with a little bit of research, some elbow grease, and a lot of patience. If you’re thinking about building your own grill, I say go for it! Just make sure you do your homework and take your time. Happy grilling!


