Okay, so I wanted to share this project I just finished up, building a brick barbecue grill in my backyard. It was a bit of a chore, but man, it was worth it. Let me walk you through how I got it done.
First things first, I had to figure out where this thing was going to live. I paced around my backyard like a madman for a while, trying to find the perfect spot. You know, somewhere that wouldn’t have smoke blowing into the house but still close enough to grab beers from the fridge. Once I settled on a location, I marked out the area with some stakes and string. It’s nothing special, you just need to make sure you know where to dig.


Next up, the foundation. This part was a real pain in the you-know-what. I dug out a shallow pit, about six inches deep, and then filled it with gravel. I tamped that gravel down real good, making sure it was nice and level. I use a long wood and put it on the gravel to make sure it is flat. Then, on top of the gravel, I poured a concrete slab. Mixing concrete is no joke, let me tell you. My arms were like noodles by the end of it. I used a rented concrete mixer and I think this is a must.
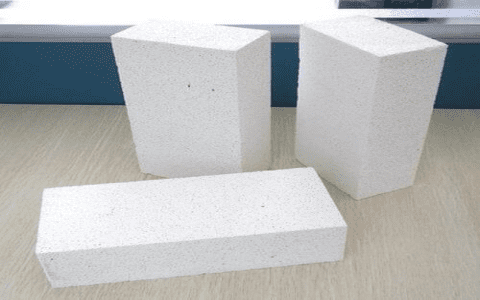
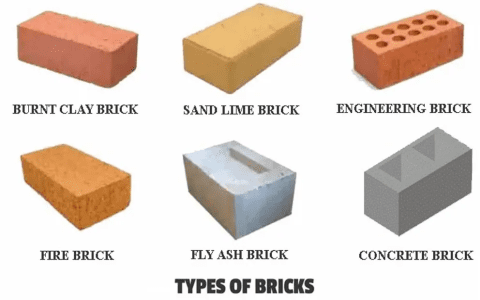
Once the concrete set—which took a couple of days of me nervously checking it every few hours—I started on the bricks. I picked up a bunch of regular old clay bricks, and let me give you a tip: get more than you think you need. There are some special bricks called “firebrick” and they say that is better, but I did not use that. I just use the regular brick. You’ll be cutting some in half, and trust me, you’re gonna mess a few up. I also grabbed some high-heat resistant mortar mix. I did not know that before, but there is some difference between regular mortar and heat-resistant one. Don’t skimp on this; you don’t want your grill falling apart after a few uses.
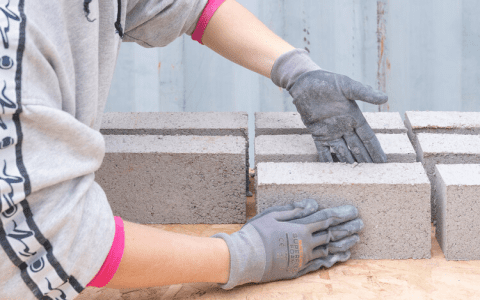
Laying the bricks was kind of fun, actually. I felt like a real mason, even though I had no idea what I was doing. I started by spreading a layer of mortar on the concrete, then setting the first row of bricks. I did a double layer, just to be safe, and staggered the joints like you see in all those DIY videos. The key here is to keep checking that everything is level and plumb. I used a level tool like every five seconds. You don’t want a wonky grill.
- First layer: Full bricks all around, nice and easy.
- Second layer: Started with a half brick to stagger the joints.
- Keep going: I built up the walls, leaving a space at the front for access to the coals.
I built the walls up to about waist height, which seemed like a good grilling height for me. Then, I needed to create a ledge for the grill grates to sit on. I did this by turning some bricks sideways, so they stuck out into the pit. It was pretty easy to do that. Make sure they’re secure though, you don’t want them falling out when you’ve got a pile of hot coals underneath.
After that, I built a smaller, inner wall to hold the coals, leaving some gaps at the bottom for airflow. This was a bit tricky, but I just took my time and made sure everything was solid. The last step was to add the grill grates. I picked up a couple of heavy-duty ones from the hardware store. They fit perfectly on the ledges I’d built. Then add some decoration bricks on the outside of the BBQ. That was my wife’s idea. It looks better.
And that’s it! My very own brick barbecue. It took a few weekends and a lot of sweat, but it was totally worth it. We’ve already had a couple of cookouts, and the food tastes amazing. There’s just something about cooking over real coals that you can’t beat. If you’re thinking about doing something similar, I say go for it. Just be prepared for some hard work, and make sure you’ve got a good buddy to help you out—preferably one who owes you a favor or two.


