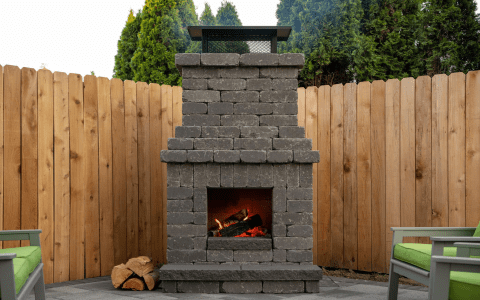
Okay, so, I’ve always wanted one of those cool brick pizza ovens in my backyard. You know, the kind you see in those fancy cooking shows? Well, I finally decided to just go for it and build one myself. Let me tell you, it was quite the adventure, but totally worth it.
First things first, I had to figure out where to put this thing. I picked a spot in my backyard that was kinda out of the way but still had enough space around it. And I made sure it was sheltered from the wind, because nobody wants their pizza oven getting blown over, right?


Next up, I had to dig out the area for the foundation. I’m no construction worker, but I managed to dig a decent-sized hole and level it out. I needed a form for the concrete pad that I wanted to make, so I got a couple of 210’s, slapped together a basic form, and laid out a solid foundation of concrete. It wasn’t perfect, but hey, it was stable enough.
Now, here’s where it got real interesting – building the actual oven. I did some research, watched a few videos online, and basically just winged it. I started laying bricks, one by one, using mortar to hold them together. It was slow going, and my back definitely wasn’t happy about it, but I kept at it.
I decided to go for a classic dome shape for the oven. I just think it looks way cooler than a boring square one. So, I started building up the walls, gradually curving them inwards to create that dome. This is where my patience was really tested. Lots of stacking, checking, and adjusting. Some bricks were a little off, some mortar was a little too thick, but I just kept going, fixing things as best I could.
There was a moment, halfway through, when I seriously considered just buying one of those pre-made ovens. It would’ve been so much easier! But I’d already come this far, and I’m not one to back down from a challenge. I do have to admit, it wasn’t exactly cheap. I thought building it myself would save some cash, but between the bricks, mortar, and other stuff, it ended up costing a pretty penny.
Building the Dome
- Start Laying Bricks: This is the fun part! I started laying bricks, one by one, using mortar to hold them together. There were a few wonky bricks, but hey, it gives it character, right?
- Curve Inward: To get that classic dome shape, I had to start curving the bricks inwards as I went up.
- Keep it Steady: This part was tricky. Making sure each brick was properly supported while the mortar dried took some serious patience.
Finally, after what felt like forever, the dome was complete! I stepped back, took a good look at it, and I gotta say, I was pretty darn proud of myself. It wasn’t perfect, there were definitely some imperfections, but it was MY pizza oven, built with my own two hands.
Then came the moment of truth – firing it up and making the first pizza. I let the oven heat up for a good while, tossed in a pizza, and waited with bated breath. And you know what? It was amazing! The crust was crispy, the cheese was bubbly, and the whole thing had that delicious smoky flavor that you just can’t get from a regular oven.
So, there you have it – my brick pizza oven adventure. It was a lot of work, a bit of a learning curve, and definitely not as cheap as I initially thought, but in the end, it was all worth it. Now, I can make awesome pizzas anytime I want, and I’ve got a pretty cool story to tell about how I built the oven myself. If you’re thinking about doing something similar, I say go for it! Just be prepared for some hard work, and remember to have fun with it.


