Okay, folks, let’s talk about something that’s been a real game-changer in my backyard: building a brick oven for pizza. I’ve always loved a good wood-fired pizza, and after years of dreaming about it, I finally decided to just go for it and build one myself. Here’s how it all went down.
Getting Started
First off, I started by gathering all the info I could find online about building a brick oven. I watched a bunch of videos, read articles, and even joined a couple of forums where people share their DIY projects. It was a bit overwhelming at first, but I picked up some solid tips and tricks.


Planning and Design
Next up was the planning phase. I sketched out a few designs, trying to figure out what would work best in my backyard. I had to think about the size of the oven, where it would sit, and what materials I’d need. I settled on a simple dome shape, which seemed doable for a first-timer like me.
Gathering Materials
Once I had a plan, I started collecting materials. This was a bit of a scavenger hunt. I needed firebricks for the inside of the oven, regular bricks for the outside, cement, sand, and some insulation material. I ended up getting most of the stuff from a local hardware store, but I also scored some used bricks from a friend who was renovating his house.
Building the Base
Now, onto the actual building part. I started with the base. This had to be solid because it was going to hold up the whole oven. I dug a shallow pit, filled it with gravel, and then poured a concrete slab. I made sure it was level because, you know, nobody wants a wonky pizza oven.
Laying the Bricks
After the base was set, I began laying the bricks for the oven floor. I used firebricks for this part since they can handle the high heat. I laid them out in a herringbone pattern, just because I thought it looked cool. Then came the walls. This was where things got a bit tricky. I built a sand form in the shape of the dome I wanted and started laying bricks around it, slowly building up the walls.
Creating the Dome
Building the dome was the most challenging part. I had to cut some bricks at angles to make them fit just right. It was slow going, and I had to keep checking that everything was lining up. There were moments when I thought the whole thing might collapse, but I kept at it, one brick at a time.
Adding Insulation and Finishing
Once the dome was up, I added a layer of insulation over it. I used a ceramic fiber blanket, which is apparently great for retaining heat. Then, I covered the insulation with a layer of chicken wire and applied a coat of cement over it. This gave the oven a nice, smooth finish.
Curing the Oven
Before I could fire up the oven, I had to let it cure. This involved building a series of small fires inside the oven over a few days, gradually increasing the temperature each time. It was a bit of a waiting game, but it’s crucial to do this to prevent the oven from cracking.
First Pizza
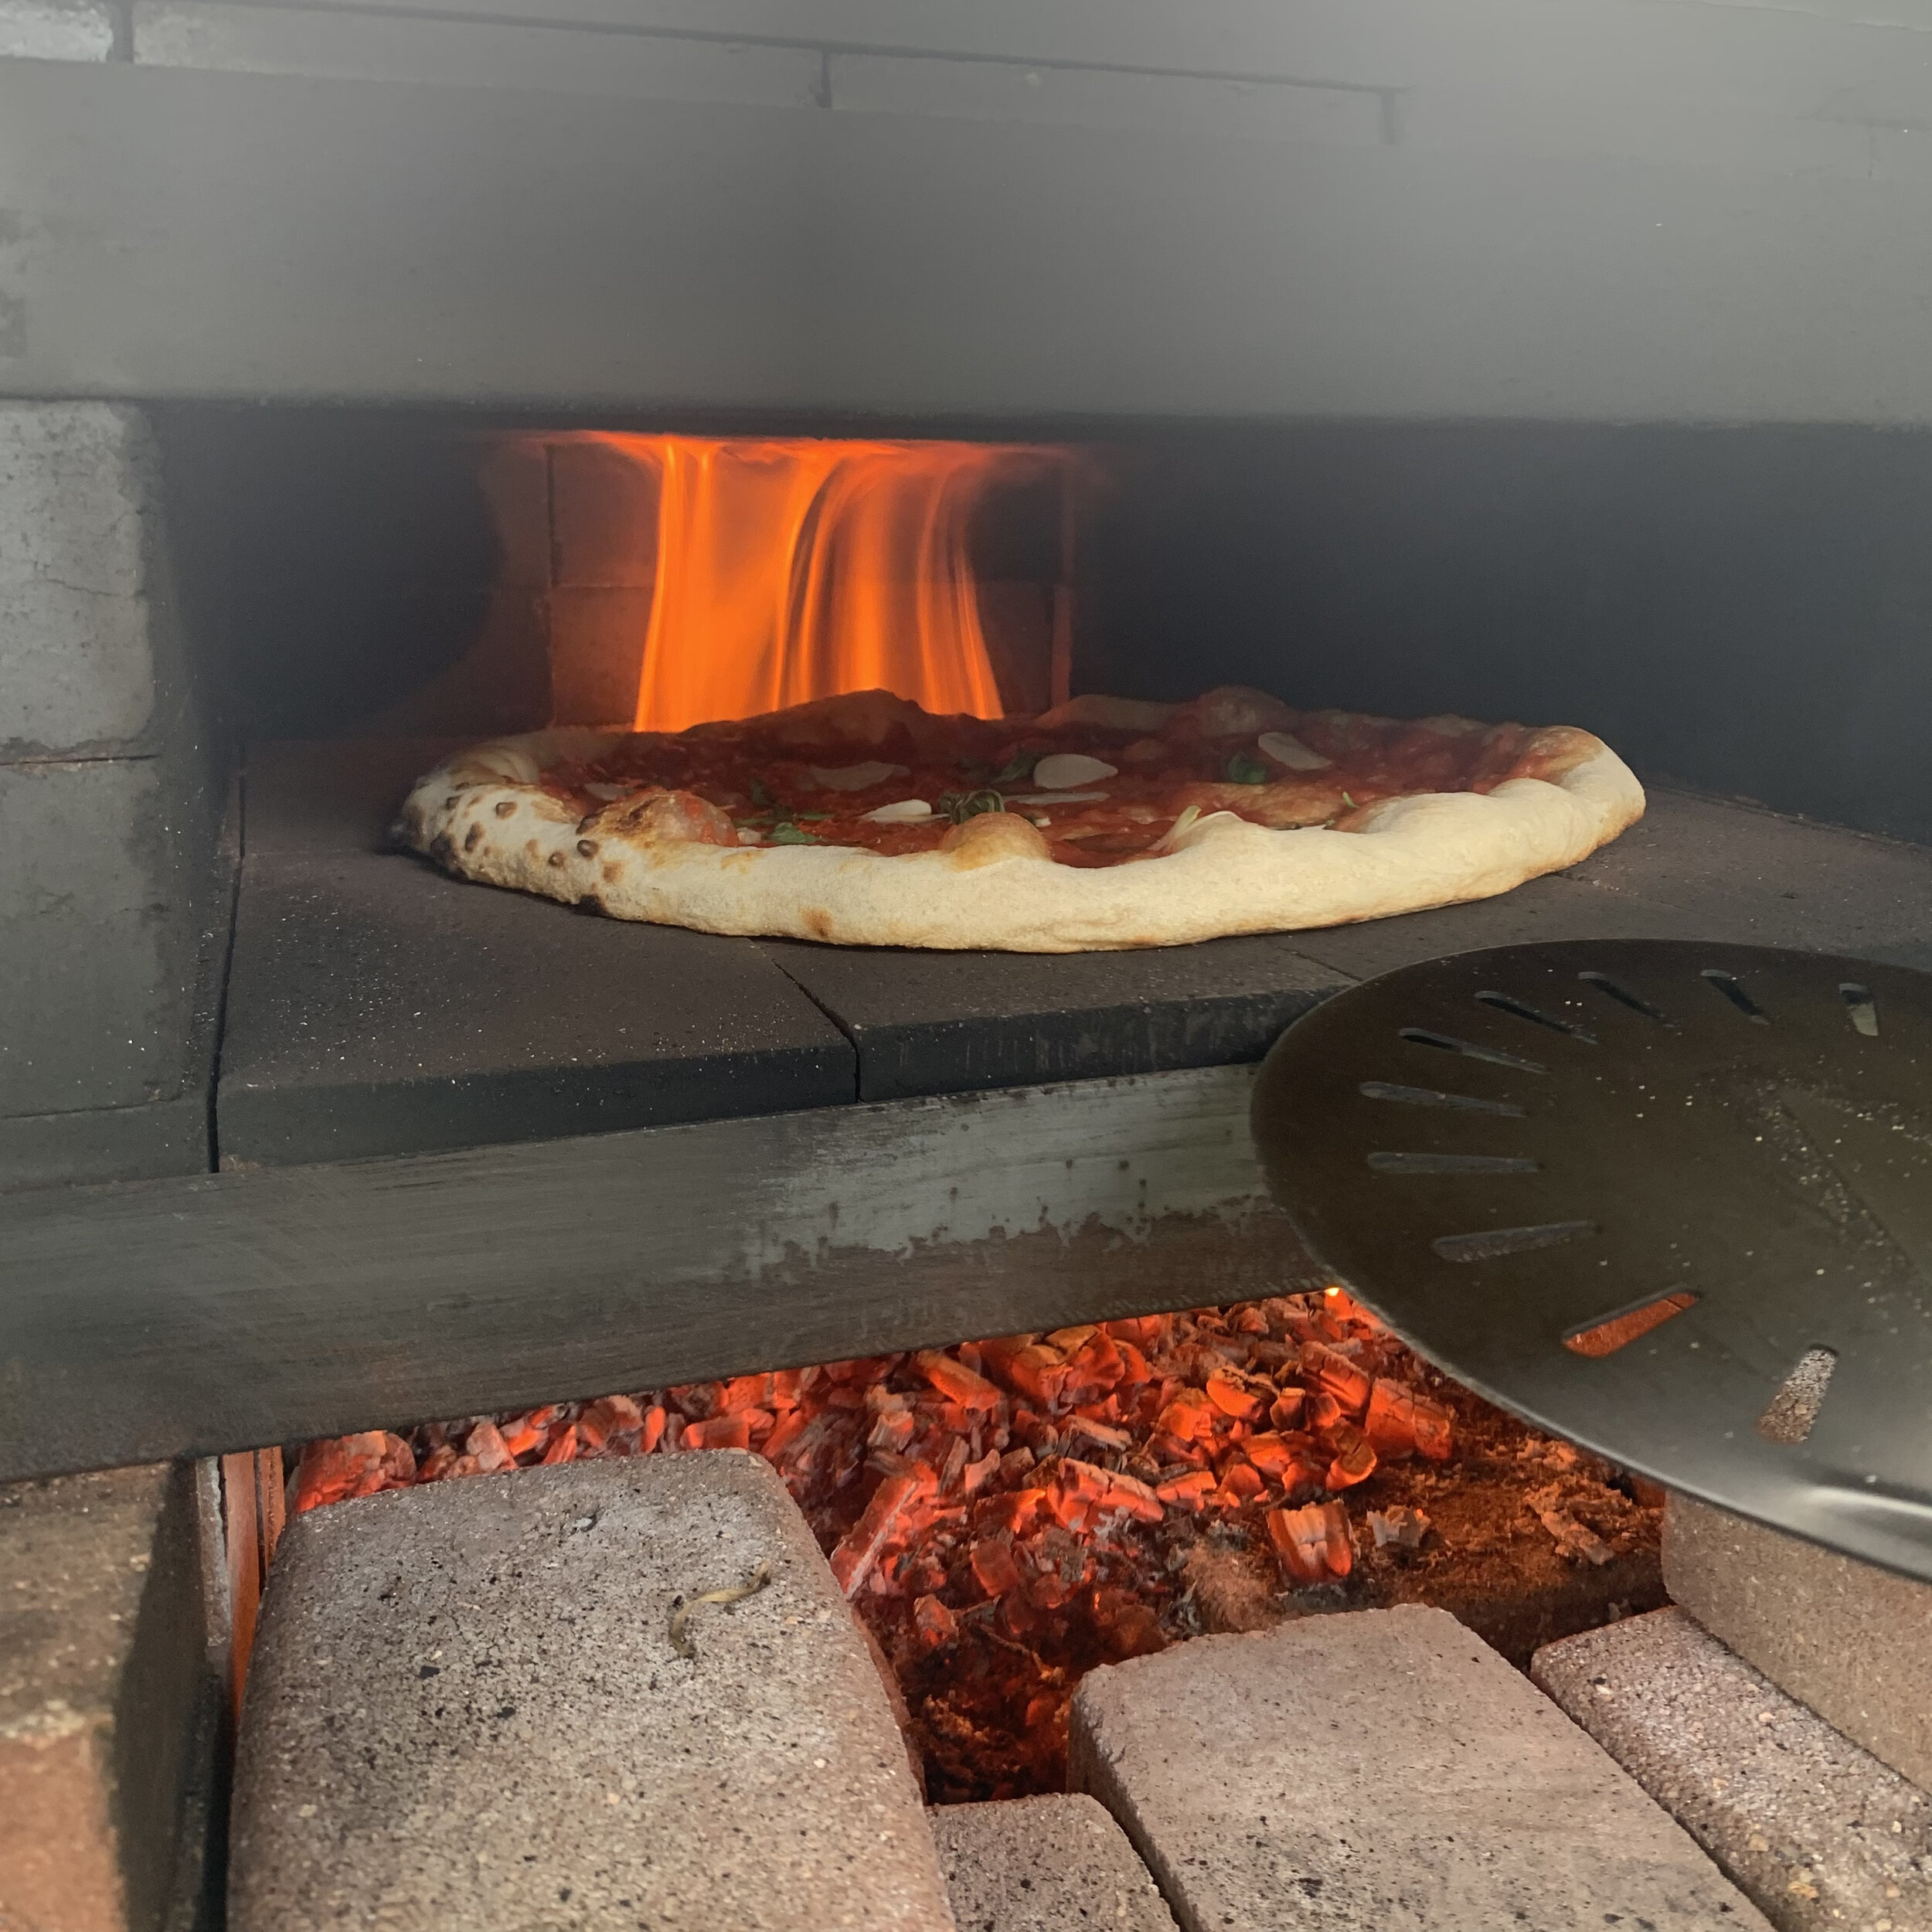
Finally, the moment of truth arrived. I built a big fire in the oven, let it heat up for a couple of hours, and then pushed the coals to the side. I slid in my first pizza, and let me tell you, it was amazing. The crust was crispy, the cheese was bubbly, and the flavor was just out of this world. All that hard work definitely paid off.


Final Thoughts
Building a brick pizza oven was a heck of a project, but it was totally worth it. There’s something really satisfying about cooking in an oven you built yourself. If you’re thinking about doing it, I say go for it. Just be prepared for some hard work, and don’t be afraid to ask for help along the way.
So, that’s my story. Hope you found it helpful, or at least entertaining. Happy building, and even happier eating!


