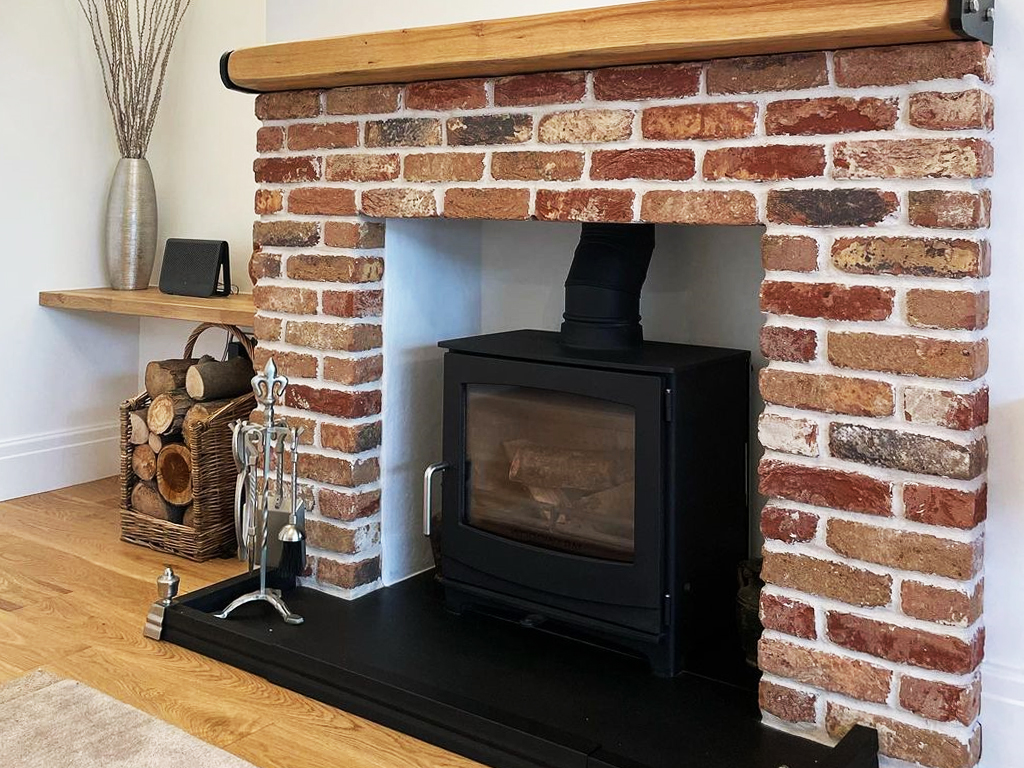
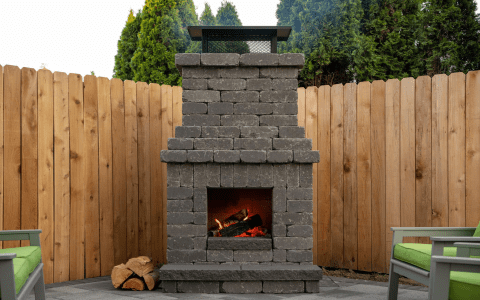
Okay, so I’ve been wanting a brick fireplace with a wood burner for ages, and I finally decided to just go for it. It wasn’t as hard as I thought it’d be, but it definitely took some elbow grease and a bit of planning.
First, I cleared out the space where I wanted the fireplace. This involved moving some furniture around and making sure I had enough room to work. I also made sure the floor was level because, you know, you don’t want a wonky fireplace.


Then came the fun part – choosing the bricks. There are so many options out there! I learned that normal bricks are not that suitable, I need to choose firebricks. Firebricks are an essential component of any fireplace. They can hold the heat within the firebox and protect the outer casing of the stove from overheating. I spent a good chunk of time at the home improvement store, checking out different styles and colors. Finally, I settled on some rustic-looking ones that I thought would give the room a cozy vibe.
Next, I started laying out the base. I used a simple concrete slab for this, nothing fancy. I just made sure it was big enough to support the fireplace and thick enough to handle the weight. I mixed the concrete myself, which was a bit of a workout, but hey, it’s cheaper than getting it pre-mixed.
Once the base was set, I began building up the firebox. This is where those firebricks came in handy. I carefully measured and marked each brick before laying it, using a special heat-resistant mortar. This part was pretty straightforward, just a lot of stacking and making sure everything was level. There are a lot of things that I need to take care of. I want to add a modern vibe or give an old home a more rustic feel. It depends on what I need.
With the firebox done, I moved on to the surround. This is where I could get a little creative. I decided on a simple design with a nice, wide hearth. I used regular bricks for this part since they wouldn’t be exposed to direct heat. I took my time with this, making sure the bricks were evenly spaced and the mortar joints looked neat.
The final step was adding the wood burner. I picked out a cast iron one that fit perfectly in the firebox. I followed the manufacturer’s instructions for installation, which was pretty easy. I just had to make sure the flue was properly connected and everything was sealed up tight.
Things I learned:
- Firebricks are a must: They’re not the same as regular bricks. They’re designed to withstand high heat.
- Take your time with the measurements: A little mistake can throw off the whole project.
- Mixing mortar is messy: Wear gloves and old clothes!
Overall, I’m really happy with how it turned out. It’s exactly what I envisioned, and it adds so much warmth and character to the room. Plus, there’s nothing like the crackling sound of a real wood fire on a cold night. If you’re thinking about doing something similar, I say go for it! Just be prepared to put in some work, and don’t be afraid to ask for help if you need it.


