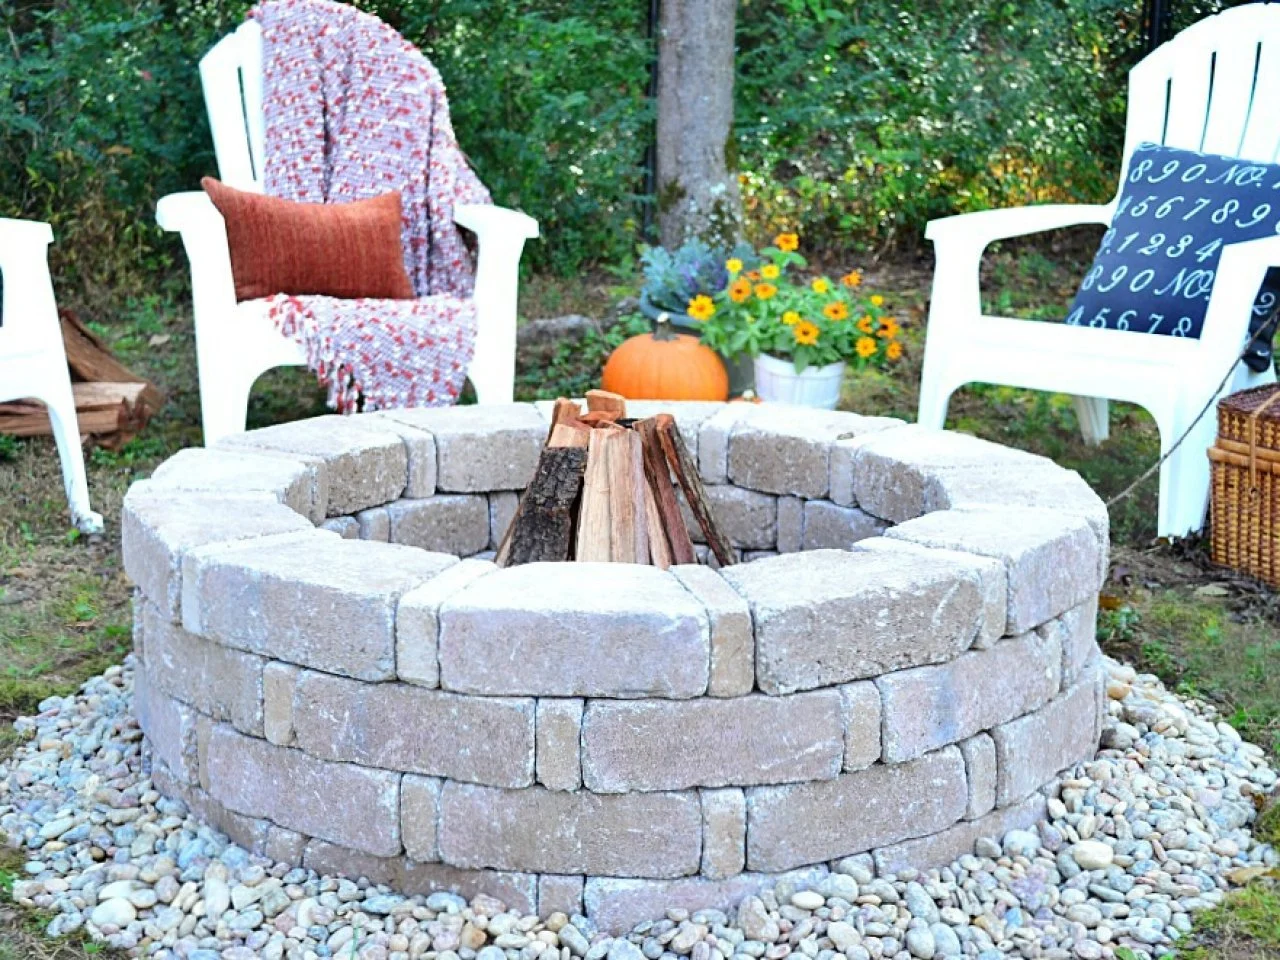
Okay, so I really wanted a fire pit in my backyard, you know, for those chill evenings with friends, roasting marshmallows, and just enjoying the outdoors. I decided to roll up my sleeves and build one myself using bricks. I’m no expert, but I figured, how hard could it be, right?
Getting Started
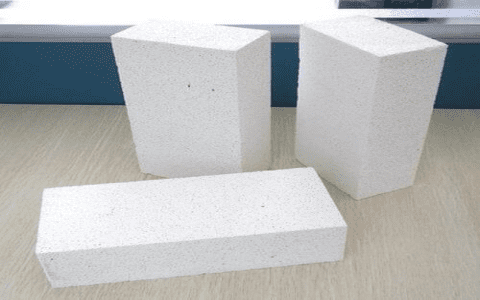
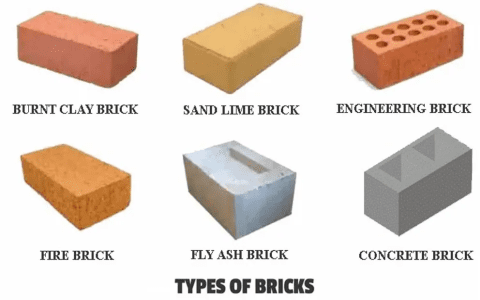
First things first, I needed a plan. I sketched out a simple circle design on a piece of paper. Nothing fancy, just a basic circle to contain the fire. Then, I went and bought a bunch of bricks from the local hardware store. I made sure to get bricks that could withstand high temperatures. Also picked up some outdoor construction adhesive because I wanted this thing to be solid.

Laying the Foundation
I cleared a spot in my backyard, making sure it was away from anything that could catch fire, like trees or my wooden deck. I marked out the circle using a stake and some string. Then, I dug a shallow trench along the marked line. This was going to be the foundation for my fire pit, so I made sure it was level.
Building It Up
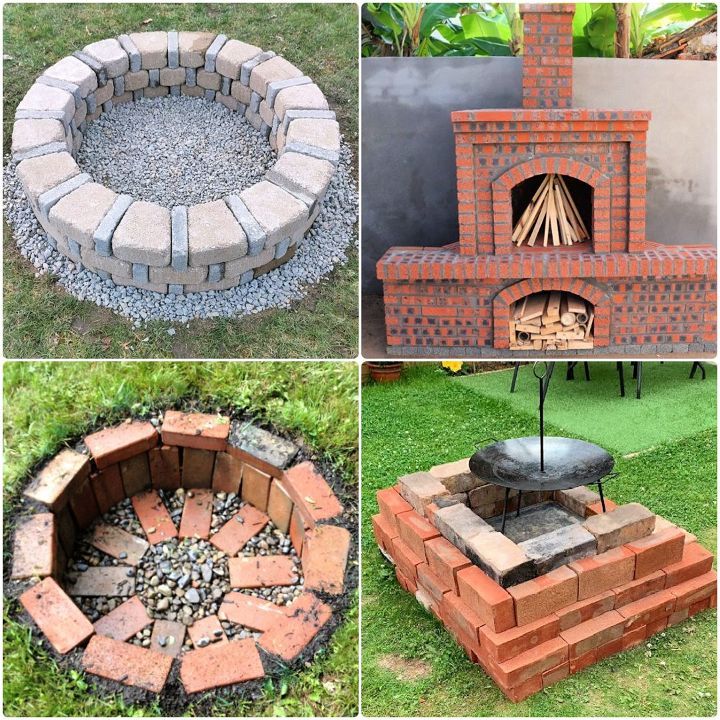
With the foundation ready, I started laying the first layer of bricks. I put them in a circle, following the trench I’d dug. This part was kind of like a puzzle, trying to get the bricks to fit snugly together. Once the first layer was down, I checked again to make sure it was level. It’s pretty important, or the whole thing will be wonky.
Gluing and Stacking
Now came the fun part – gluing the bricks together. I applied the outdoor construction adhesive to each brick before placing it on the layer below. I made sure to stagger the seams, like you see in brick walls, to make the structure stronger. This was a bit time-consuming, but I wanted to make sure each brick was firmly in place and didn’t wobble.
Adding More Layers
I kept adding layers, gluing each one, and making sure the whole thing was stable. After each layer, I’d step back and check the shape. It was starting to look like a real fire pit! I decided to go about four layers high, which seemed like a good height for sitting around.
The Fire Ring
Once the bricks were all glued and dried, I got a metal fire ring. I had to order this thing online. This is basically a metal circle that goes inside the pit to protect the bricks from the direct heat. I placed the ring inside my brick circle, and it fit perfectly. This made the fire pit look more legit and also made it safer.
Finishing Touches
With the fire ring in place, my fire pit was pretty much done! I cleaned up the area around it, removing any extra adhesive or brick pieces. I also added some gravel around the base of the pit for better drainage and a cleaner look.
The First Fire
Finally, the moment of truth – lighting the first fire. I gathered some firewood, stacked it inside the pit, and lit it up. It felt amazing to see the flames dancing in the fire pit I had built with my own hands. I invited some friends over, and we sat around the fire, chatting and enjoying the warmth.
- Sketch a circle design.
- Buy bricks and outdoor construction adhesive.
- Clear and level a spot in the backyard.
- Dig a shallow trench for the foundation.
- Lay the first layer of bricks in a circle.
- Glue and stack more layers, staggering seams.
- Insert a metal fire ring for protection.
- Clean up and add gravel around the base.
- Light the first fire and enjoy!
Building this fire pit was a really rewarding experience. It wasn’t too difficult, and it added so much to my backyard. If you’re thinking about a DIY project, I totally recommend giving this a try. It’s a great way to spend a weekend, and the result is something you can enjoy for years to come!
