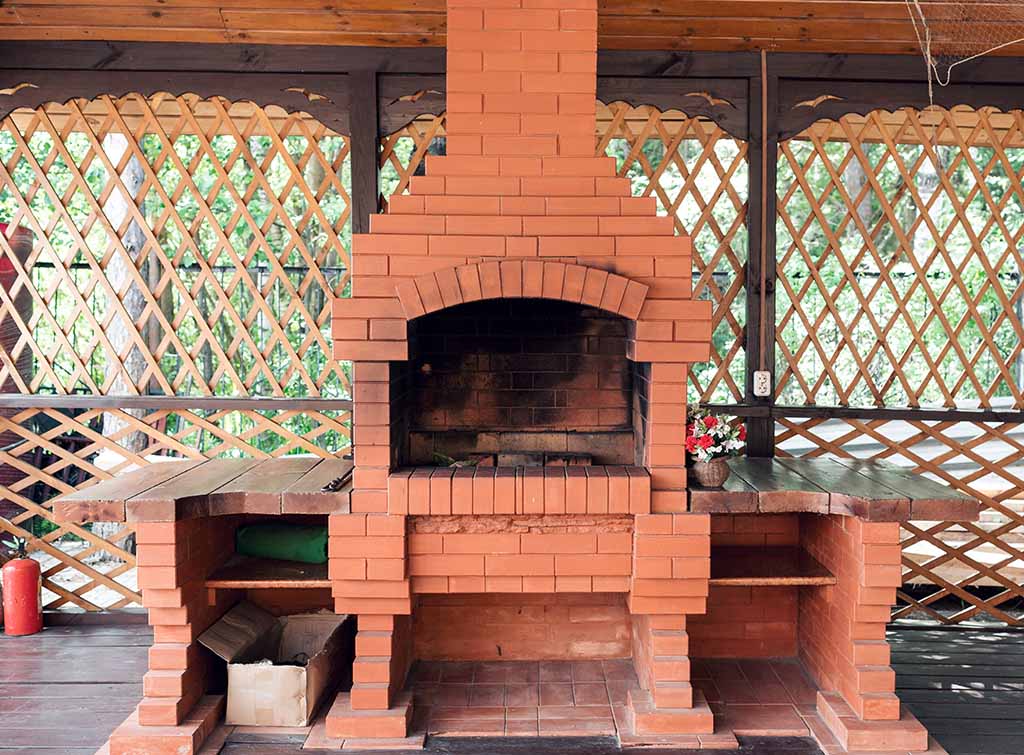
Okay, so I’ve always wanted a proper grill in my backyard, you know? Those store-bought ones are either flimsy or cost a fortune. So, I thought, why not just build my own brick BBQ pit? Seemed like a fun project, and I could save some serious cash.
First things first, I had to figure out what I was doing. I spent a few days just looking at pictures online and kinda getting a feel for the size and shape I wanted. Didn’t want anything too fancy, just a basic pit that would get the job done. Once I had a rough idea, I sketched out a basic design on some scrap paper. Nothing professional, just enough to give me a visual guide.


Next, gathered all the stuff I needed. Bricks, obviously. I got regular red bricks from the local hardware store, enough to build up the walls. Also needed mortar mix, some sand, gravel, and a few metal grates for the cooking surface. Oh, and I borrowed a trowel and a level from my neighbor, he’s a good dude.
Getting Started
- Cleared a spot in the backyard where the pit would go. Made sure it was a safe distance from the house and any trees.
- Dug out a shallow foundation, maybe about 6 inches deep, and filled it with gravel. Then I packed it down real good to make a solid base.
- Mixed up the mortar according to the instructions on the bag. It’s basically like making cement, just mixing the powder with water until it’s a thick paste.
Then came the fun part – laying the bricks. I started at the corners, using the level to make sure everything was straight and even. I’d slap some mortar on the bottom brick, set another brick on top, tap it into place with the trowel, and check it with the level. Slowly but surely, the walls started to go up. It was kinda like building with giant LEGOs, but way messier.
I built the walls up to about waist height, leaving a few gaps here and there for airflow. I also made a little shelf inside the pit to hold the charcoal grate. Once the walls were done, I let the whole thing dry for a few days. Had to resist the urge to fire it up right away!
Finishing Up
- Placed the metal grates on top of the walls and on the charcoal shelf.
- Filled the bottom with some more gravel for drainage.
- Fired it up!
Finally, the big day came. I loaded up the pit with charcoal, lit it up, and let it burn until the coals were nice and hot. Then I threw some burgers and hot dogs on the grill, and boom! First meal cooked on my very own homemade BBQ pit. It felt good, man. The food tasted amazing, probably because I built the thing myself.
It wasn’t perfect, a little rough around the edges, but it was mine. And you know what? It works like a charm. I’ve used it countless times since then, and it’s still going strong. So, if you’re thinking about building your own BBQ pit, I say go for it! It’s a rewarding project, and you’ll end up with a grill that’s built to last. Plus, you can brag to all your friends about it. Just be prepared to get your hands dirty!


