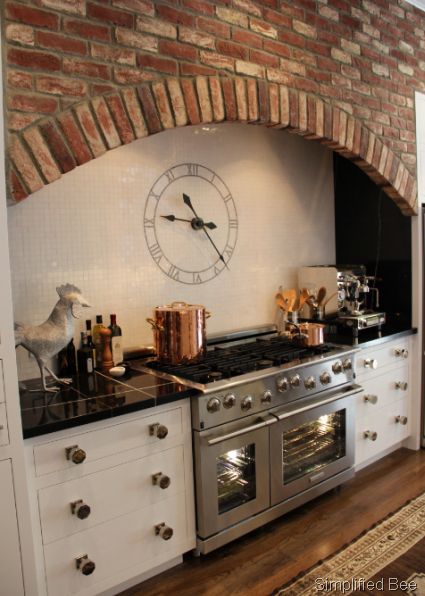
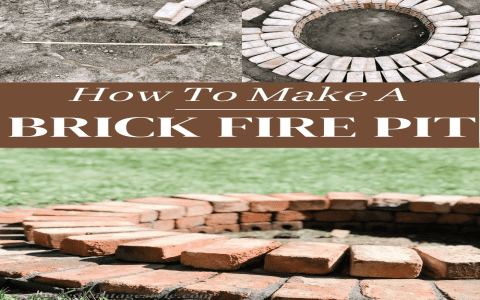
Okay, so I’ve been wanting to do this for a while, and I finally did it – I built a brick arch over my stove. Sounds crazy, right? But trust me, it turned out awesome.
It all started when I was redoing my kitchen. I was just tired of the same old boring look. I wanted something that really popped, something with character. Then it hit me – why not try to build a brick arch, to make the stove look different?


First things first, I had to figure out where to put the stove. A friend told me that the best way was to place the stove to the southeast because of some lucky thing. I thought, yeah maybe, but I decided to put it in the corner. I just measured the space above my stove and sketched out a rough idea of what I wanted. I spent a whole afternoon just looking at pictures online for inspiration. Pinterest was a lifesaver, let me tell you.
Next, I gathered all my materials. I went to the local home improvement store and bought a bunch of bricks, mortar, and some basic tools. I also got some wood to build a temporary support frame for the arch. Building that frame was a pain, I’m not gonna lie. I had to make sure it was super sturdy because it had to hold the bricks in place while the mortar dried. The cutting wood is so noisy, that I decided to do it outside of my house, or my neighbors would hate me.
- Picking the Bricks: I chose some rustic-looking bricks that had a bit of a weathered look. I figured they would give the kitchen a nice, cozy feel.
- Building the Frame: This was tricky. I used some scrap wood and built a curved frame that matched the shape of the arch I wanted. It took some trial and error, but I finally got it right.
- Laying the Bricks: This was the fun part. I started from the bottom and worked my way up, one brick at a time. I mixed the mortar according to the instructions on the bag and carefully applied it to each brick. It was like a giant puzzle.
Once all the bricks were in place, I had to wait. It took a few days for the mortar to fully dry. I was so impatient, but I knew I couldn’t rush it. Finally, the day came when I could remove the support frame. It was such a relief when the arch held up on its own. I felt like a real builder!
The finished product is amazing. The brick arch adds so much character to my kitchen. It’s definitely a conversation starter. Everyone who comes over is impressed by it. I’ve even had a few friends ask me to help them build one in their own kitchens!
So, if you’re thinking about doing something different in your kitchen, I highly recommend considering a brick arch. It’s a challenging project, but it’s totally worth it. Just be prepared to get your hands dirty and be patient. You’ll be so proud of yourself when it’s done.
What I learned from my experience?
It was a fun experience doing this myself, and I learned a lot through this, so I think it would be nice to share these with you guys:
- Measure Twice, Cut Once: I can not emphasize this enough. Make sure you have the right measurements before you start cutting wood or laying bricks.
- Patience Is Key: Don’t rush the process. Let the mortar dry completely before removing the support frame.
- Ask for Help If Needed: I had to ask my neighbor for help. Do not feel bad if you need help.
That’s all, I hope you guys like my little sharing here. If you have any questions, feel free to ask me, and I will try my best to answer them!


