Okay, so I’ve been messing around with this idea I had for sprucing up some walls in my place, and I stumbled upon something pretty cool: decorated bricks. I wanted something different, not just your regular old paint job, you know?
I started by looking at what was out there, what people were doing, and man, there are a ton of ways to get this done. I saw some folks using these thin bricks, calling them “brick veneers” or “brick tiles” – they basically stick them onto the wall. I guess that’s a pretty easy way to get the look without building a whole new wall.


Then I found that some bricks are baked in an oven, and some are just dried in the sun. The baked ones are way stronger, and the sun-dried ones are mostly just for looks, they are pretty weak, I thought that was interesting.
I also dug into how people are using paint on bricks. Seems like you gotta repaint every few years to keep them looking good and protected, especially if they’re outside walls. There are so many colors to pick from, it’s kind of crazy.
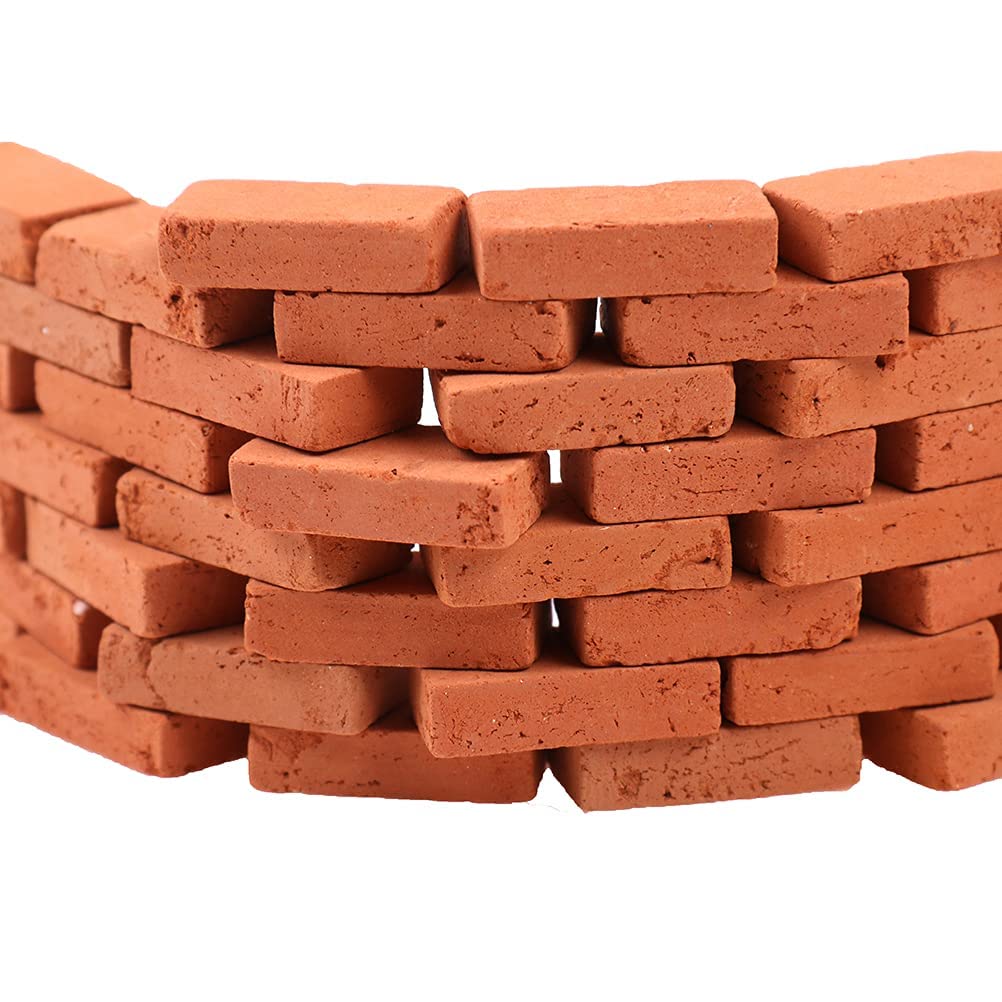
But here’s where it got really interesting for me. I came across these bricks that have this rough, textured surface. They’re not just painted; they have this special coating that makes them look super dynamic, especially when the light hits them. They come in a few different colors, and I thought they’d be perfect for what I had in mind.
So, I got my hands on some of these textured bricks, I decided to use them as a feature wall in my living room, just to add a bit of a focal point. I wanted to do it myself, ’cause I like getting my hands dirty and I figured, how hard could it be, right?
First, I had to get the wall ready. Cleaned it up, made sure it was smooth and all that. Then came the fun part – sticking those bricks on the wall. It was a bit of a learning curve, figuring out the right amount of adhesive to use, how to keep them straight and level. I used some spacers to make sure the gaps between the bricks were even.
- Prepped the wall: Cleaned, smoothed, and got it ready.
- Applied adhesive: Figured out the right amount, not too much, not too little.
- Placed the bricks: Got them on the wall, kept them straight and level.
- Used spacers: Made sure the gaps between the bricks were all the same.
The Result
After a weekend of work, and a few breaks to admire my progress, I finally finished. And let me tell you, it looks amazing! The texture of the bricks really adds something special to the room, and the way the light plays off them throughout the day is just beautiful. I’m super happy with how it turned out, and it was totally worth the effort.
It’s not just a wall anymore; it’s like a piece of art. And I did it all myself! Pretty proud of that, not gonna lie. I might just have to do another wall somewhere else in the house. If you’re thinking about doing something similar, I say go for it! It’s a fun project, and you end up with something really unique.


