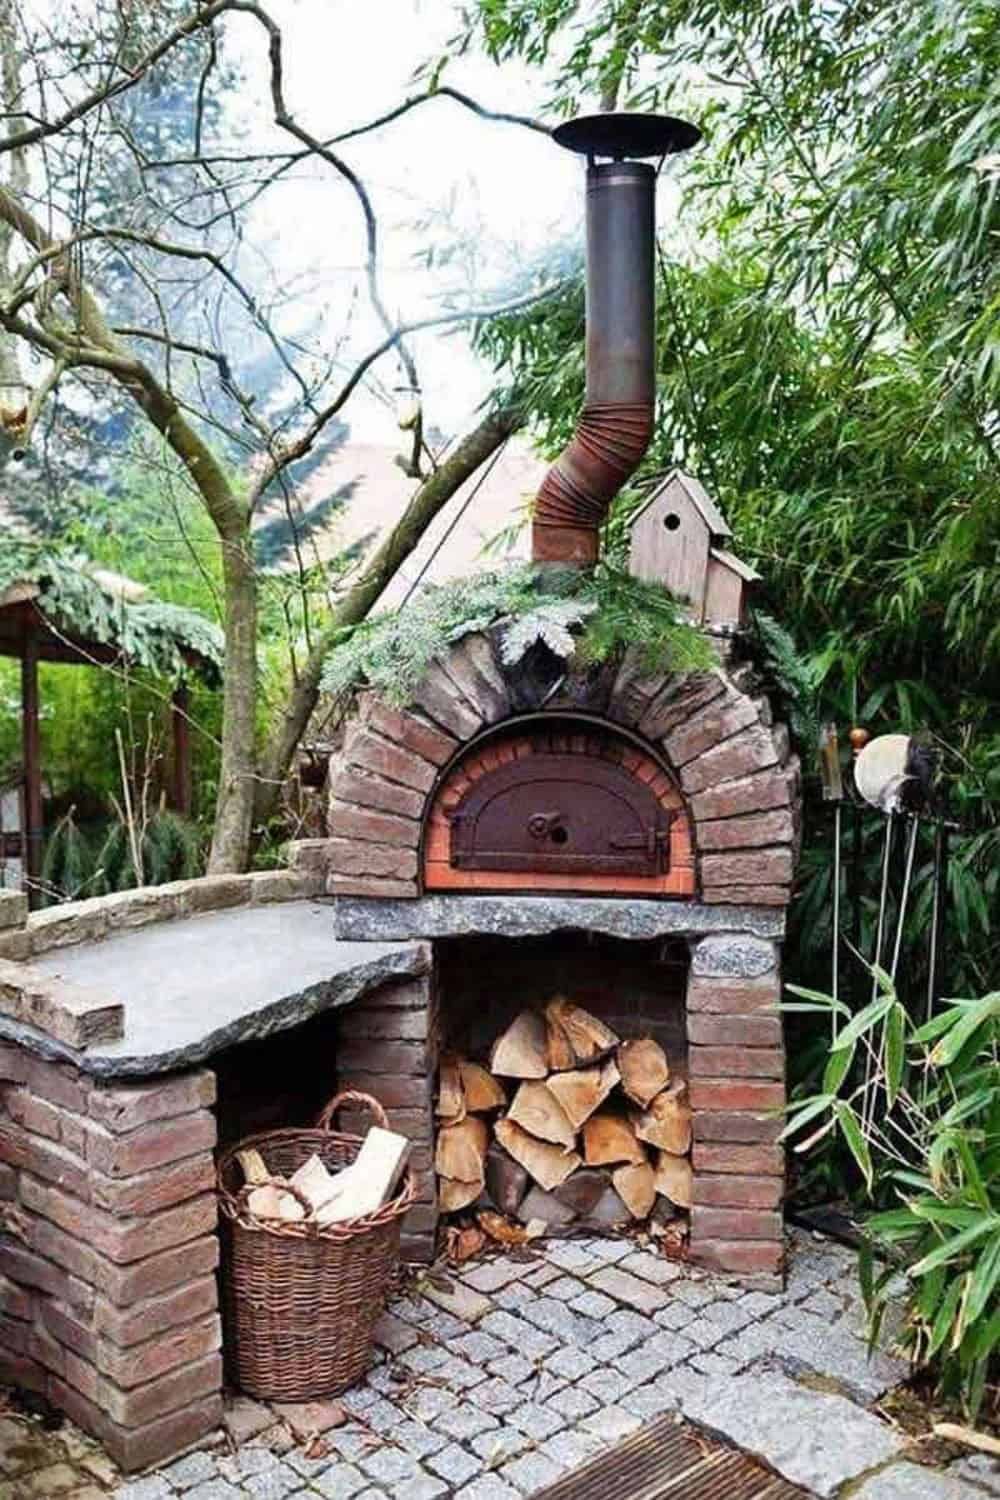
Alright, folks, gather ’round! Today, I’m gonna walk you through my little backyard project: building a brick oven. Yeah, you heard that right, a real, honest-to-goodness brick oven, just like the ones those fancy Italian restaurants use.
First things first, I had this wild idea to turn my boring backyard into something special, you know? A place where you can just chill, maybe grill a few burgers, and, in my case, bake some killer pizzas. I did some digging, watched a bunch of videos of other folks doing similar projects, and figured, “Why not? Let’s give this a shot.”


So, I started by clearing out a nice spot in the yard. This was the fun part—getting my hands dirty, moving some earth, and leveling the ground. It was a bit of a workout, I won’t lie, but pretty satisfying to see the blank canvas taking shape. After that, I laid down a solid foundation. I used some concrete and gravel for this, making sure it was all nice and level. A good foundation is key, they say, and I wasn’t about to argue with that.
Getting to the Bricks
Next up, the bricks. Oh boy, the bricks. I went with regular old firebricks because they can handle the heat. Laying them was like putting together a giant, heavy puzzle. I started with the base, making a circular shape. I used some of that refractory mortar that they use for furnaces and stuff. That stuff gets hard and can handle the really hot heat. Mixing it was like making a big batch of concrete, but this time it was all about making sure the bricks would stick together for good.
- First layer: This was crucial. I had to make sure it was perfectly level because everything else would build on top of this.
- Building up: Slowly but surely, I built up the walls, one brick at a time. It was slow going, but seeing it rise, layer by layer, was pretty cool.
- The dome: Now, this was the tricky part. Building a dome shape out of bricks isn’t exactly a walk in the park. I had to cut some bricks at angles, and it was a bit of a trial-and-error situation. But, eventually, I got it to come together.
I added a little chimney at the top ’cause, you know, smoke’s gotta go somewhere. And a nice little archway in the front for sliding the pizzas in and out. It was starting to look like a real oven!
Finishing Touches
Once the main structure was done, I let it sit for a while to cure. This part was tough—the waiting. But you can’t rush these things, right? After a week or so, I added a layer of insulation around the dome. I used this special ceramic fiber blanket, which is supposed to keep the heat in like a champ. Then, another layer of chicken wire and mortar over that, just to keep everything snug and secure.
Finally, the moment of truth: the first firing. I built a small fire inside, just to test it out and let the oven slowly get used to the heat. It was a bit nerve-wracking, not gonna lie. But, guess what? It worked! The oven heated up beautifully, and the heat was nice and even inside.
I’ve baked a few pizzas in it already, and let me tell you, they were amazing. Crispy crust, just the right amount of char, and that smoky flavor you just can’t get from a regular oven. It was a lot of work, sure, but totally worth it. Now my backyard isn’t just a backyard—it’s a pizza paradise. And hey, if I can do it, anyone can. Just gotta have some patience, a bit of elbow grease, and a love for good food.


