Hey everyone, it’s your boy back again with another project! This time, I tackled something I’ve been dreaming about for ages – a real-deal, outdoor brick pizza oven. You know, the kind that makes those crispy, delicious pizzas you just can’t get from your regular kitchen oven. So, let me walk you through how I made this beast.
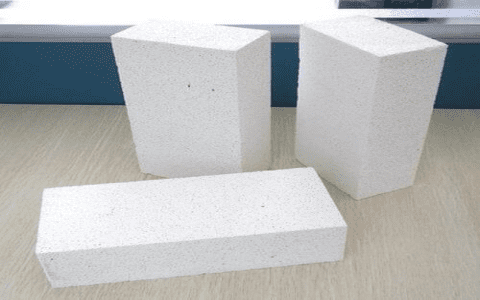
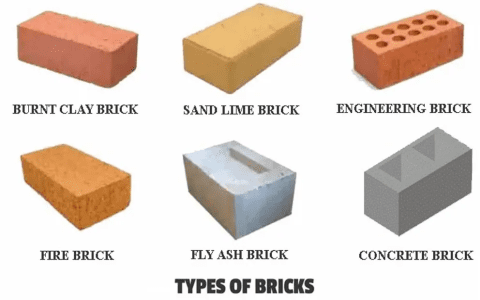
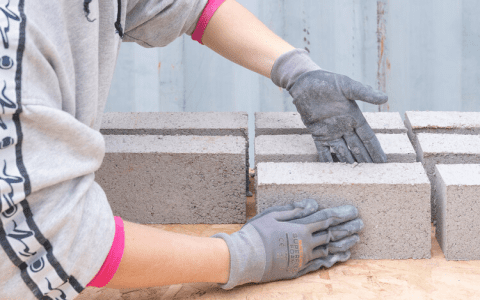
First off, I gathered all my materials. I mean, you can’t just wing this kind of project. I got a ton of bricks – and I mean a TON. Made sure I had a good solid base going. I started laying out the foundation, mixing cement, and stacking those bricks. It was a lot of manual labor, I won’t lie, my back was killing me by the end of the first day!


The Building Process
- Laying the Foundation: I started with a concrete base, making sure it was level. Then, built up the walls, leaving space for the oven door and a little chimney.
- Creating the Dome: This was the trickiest part. I used a form to help shape the dome. It was like a puzzle, fitting each brick, chipping away at them to fit just right. It took time, and a lot of patience. Had to let the mortar set each day, slow and steady.
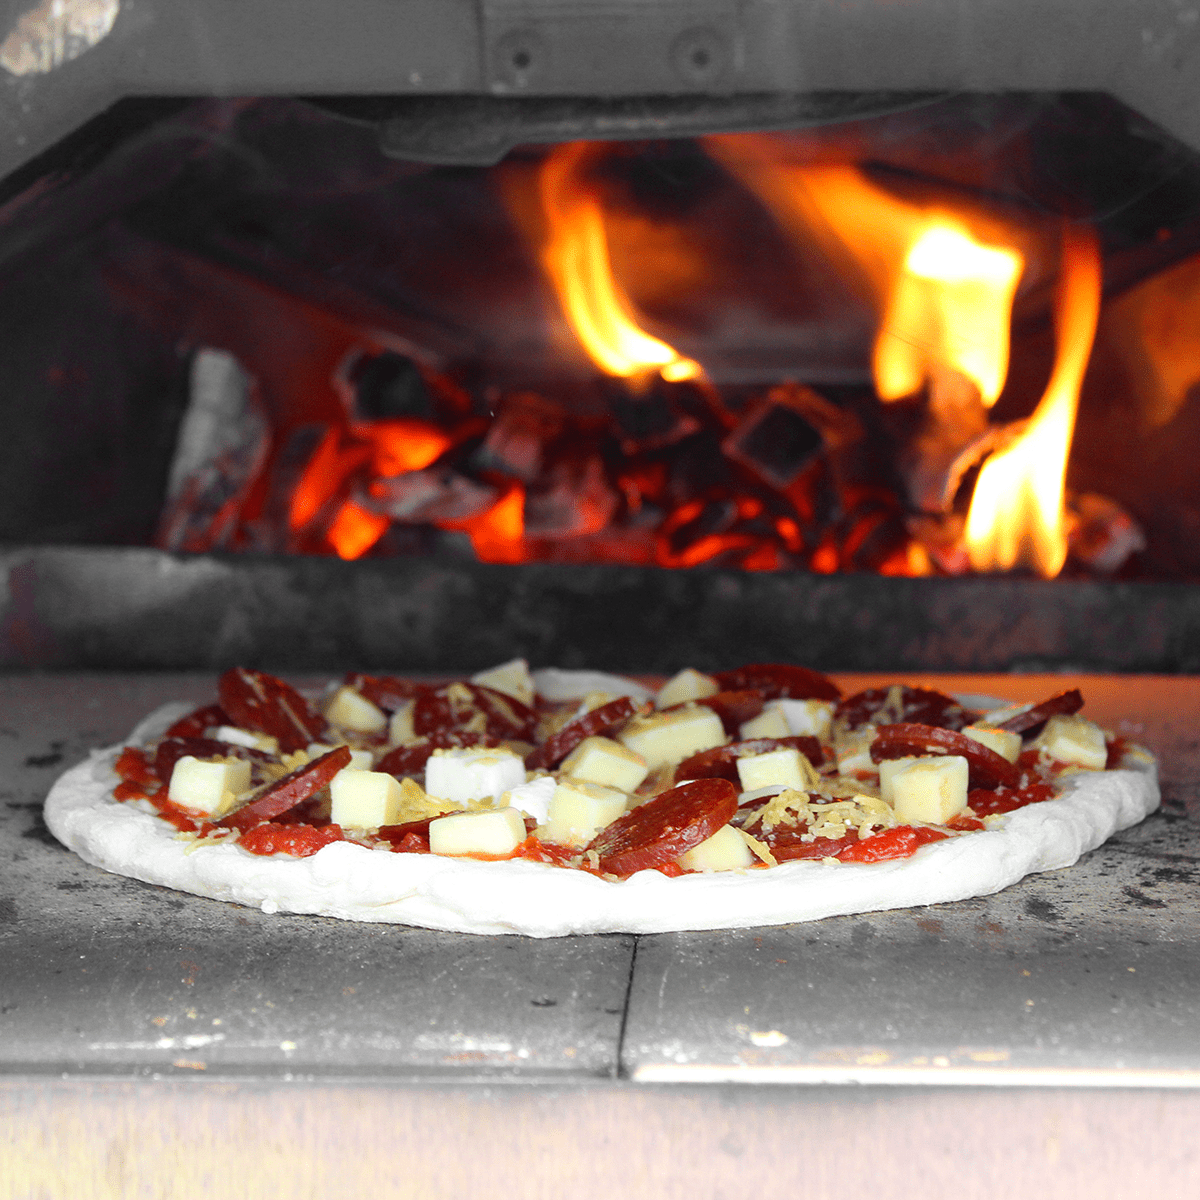
Once the structure was up, it was time to think about the inside. I learned that it’s good to preheat your oven with a pizza stone inside. It really does something to the crust. I found out that these ovens can reach like 750 to 800 degrees Fahrenheit! That’s crazy hot and cooks a pizza in like 90 seconds. Also, you gotta use good wood, not just any old logs. I got my hands on some seasoned wood, which apparently means it’s air-dried. Who knew?
I made sure to leave both the oven door and the chimney vent open when I lit the first fire. Built a little stack of kindling right in the center. The first time I fired it up, it took about half an hour to get up to temperature. It’s not like turning on your kitchen oven, that’s for sure.
The First Pizza
Man, that first pizza… I can’t even describe it. I placed the dough in a lightly oiled bowl and got it ready. I slid the pizza in, and in just a couple of minutes, it was done. Perfectly charred, bubbly, and the taste? Out of this world! It was a masterpiece, if I do say so myself. All that hard work, the sweat, the sore muscles – totally worth it.
So, there you have it. My journey to building an outdoor brick pizza oven. It was tough, but seeing that first pizza come out, it was all worth it. If you’re thinking about doing something like this, just be ready for some hard work, but trust me, the result is amazing. Keep on building, folks!


