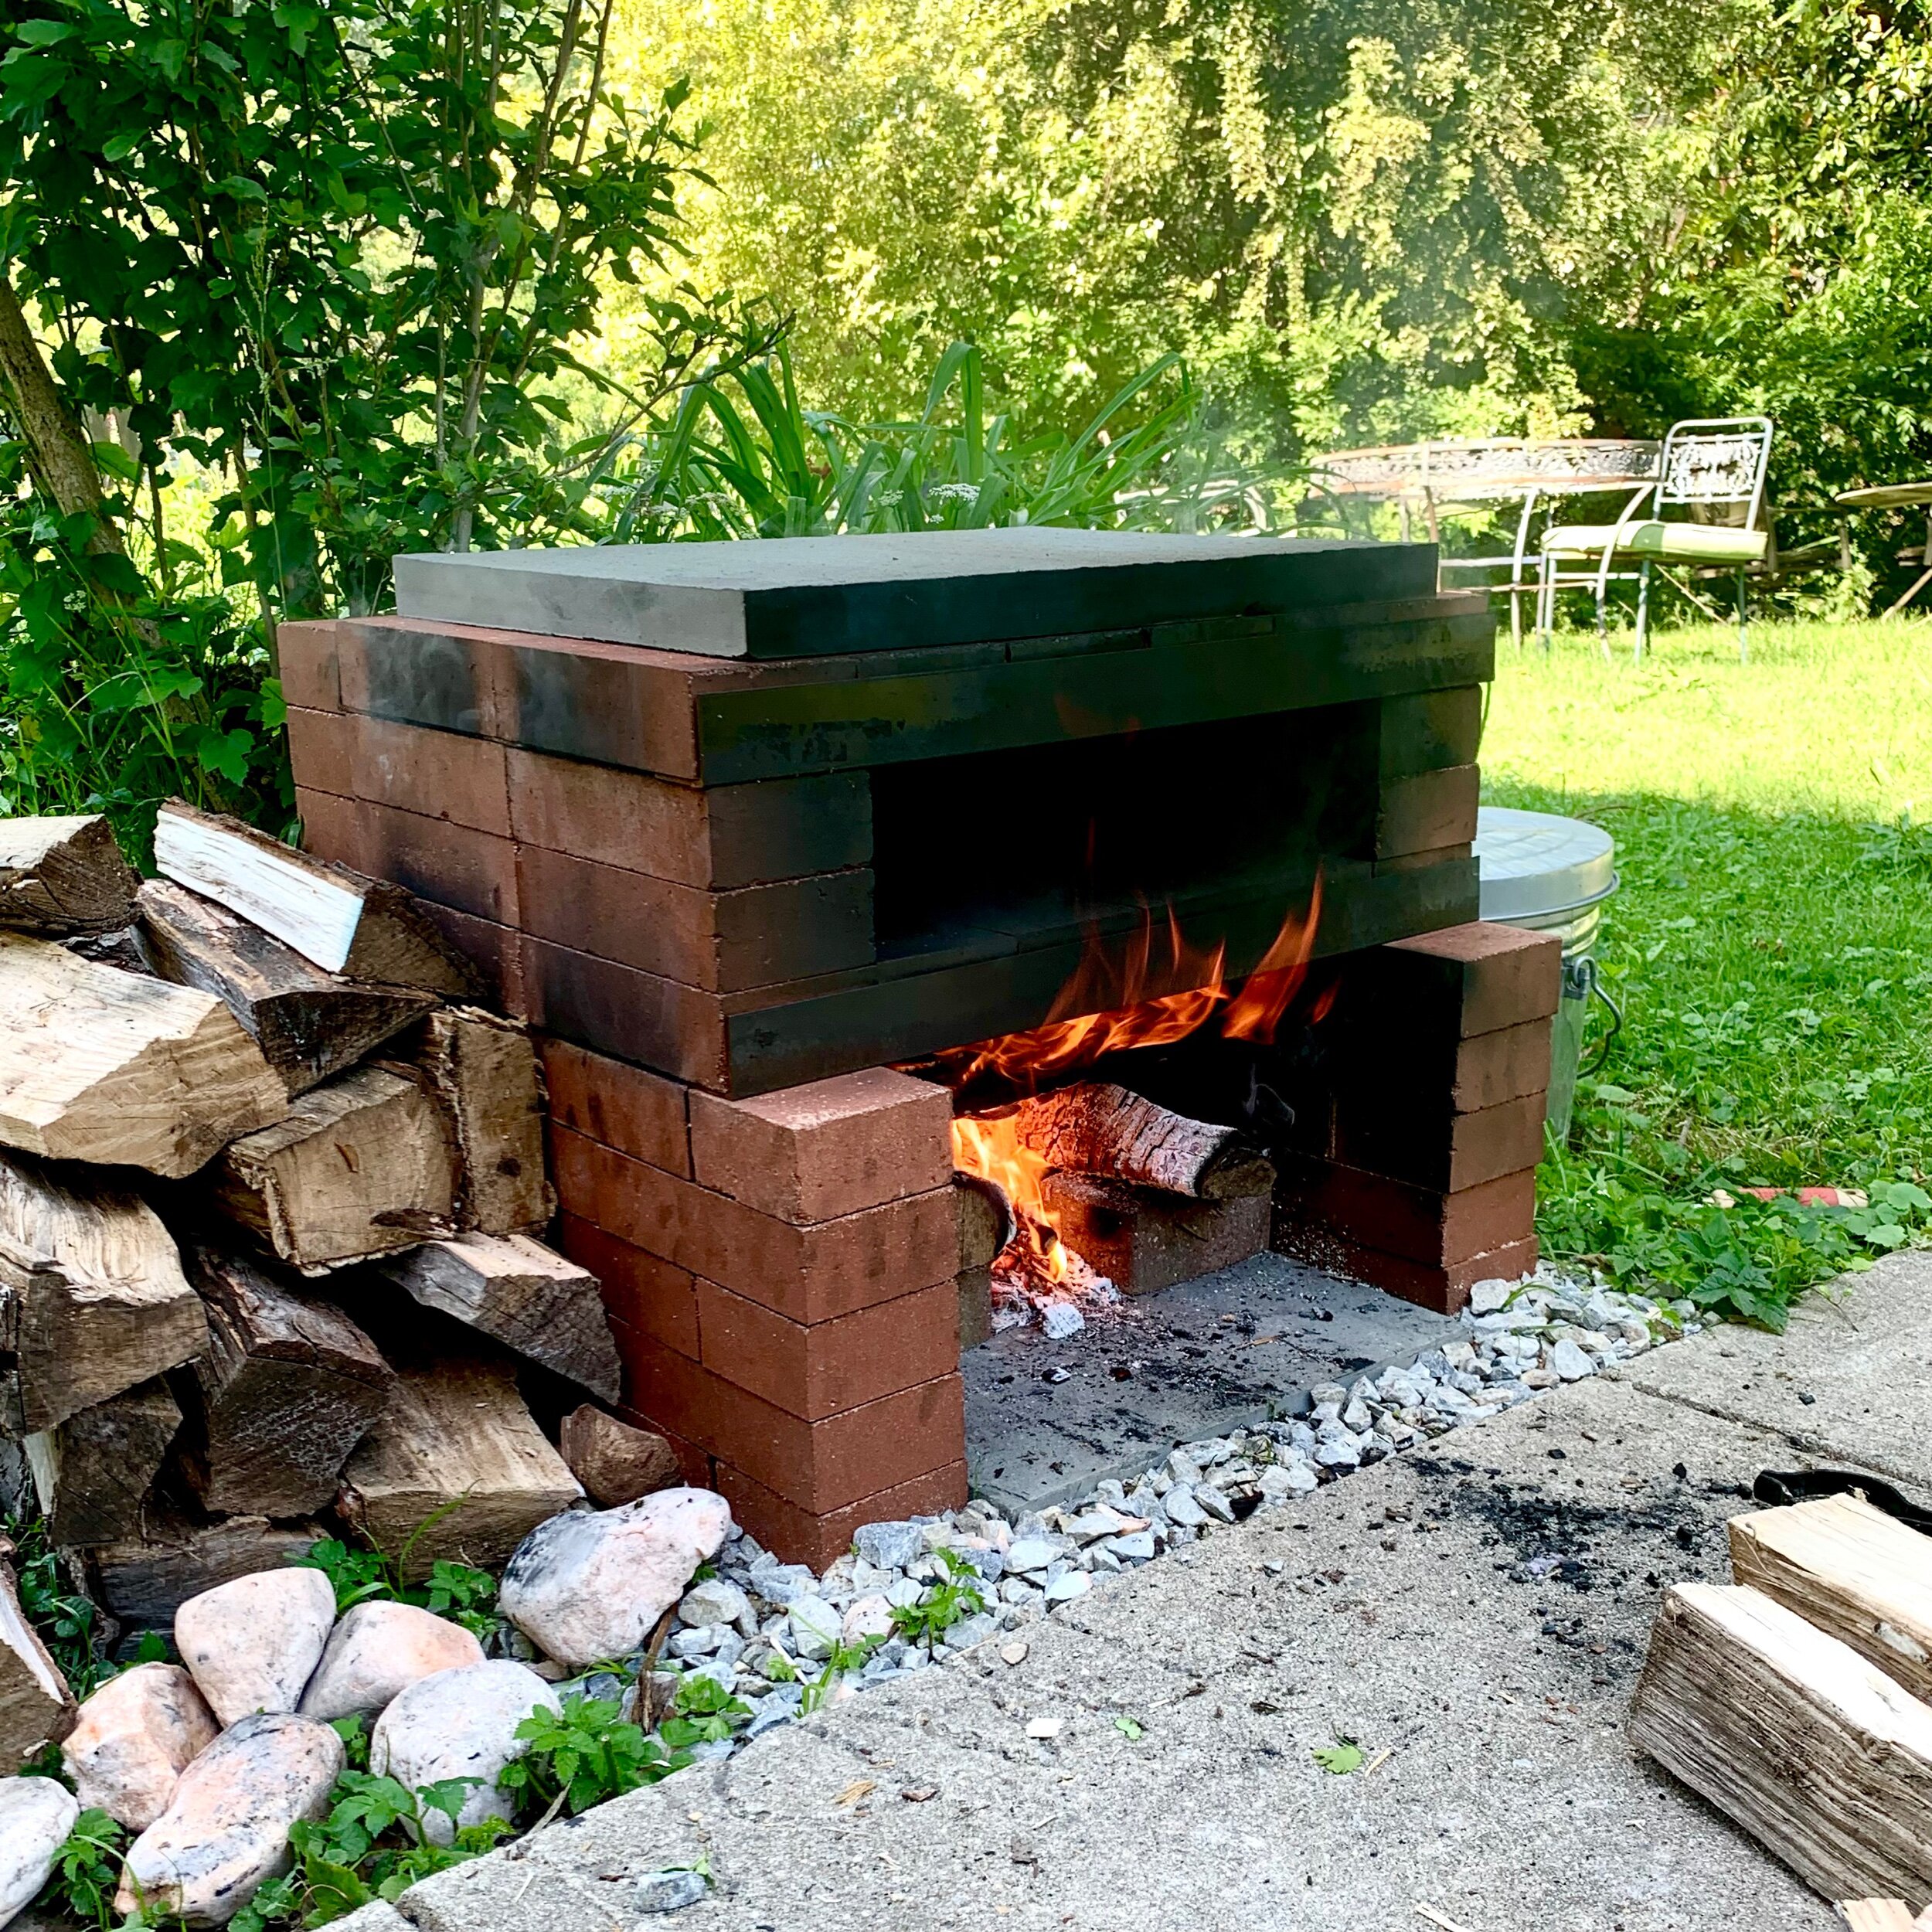
Okay, so I’ve always wanted one of those cool brick ovens in my backyard, you know, for making awesome pizzas and bread. This weekend, I finally decided to just go for it and build one myself. I did a bunch of reading online first, looked at some plans, and figured, “How hard could it be, right?”
First things first, I had to gather all the stuff I needed. I went with regular solid bricks ’cause they seemed pretty straightforward and I found a good deal on used ones. Saved some cash there, which was nice. Also, I grabbed some sand, clay, and a few other bits and bobs from the local hardware store. I gotta say, loading all those bricks into my car was a workout in itself.


Making the Base
I started by clearing out a spot in my yard. It needed to be level, so I spent a good chunk of time with a shovel and a spirit level making sure everything was flat. Then, I laid down a concrete slab for the oven to sit on. I just followed a basic guide I found somewhere online – mixing the concrete was a bit of a pain, but I got it done. I let that set for a couple of days ’cause I didn’t want any cracks later.
Building the Oven
Next up, the actual oven part. I built a sand form to shape the inside of the oven. I used damp sand, piled it up, and shaped it into a dome. That was actually kind of fun, felt like I was a kid again, playing on the beach. Then, I started laying the bricks around the sand form. I mixed up a mortar using clay and sand – it was messy, but kind of satisfying, you know, getting your hands dirty.
I layered the bricks in a circular pattern, slowly building up the dome. It was slow going, making sure each brick was snug and level. I had to cut a few bricks to fit, which was a hassle. I won’t lie, my back was killing me by the end of the day. But I kept at it, row by row, until the dome was complete. I left a hole at the front for the oven door and a small one at the top for the chimney.
Adding Insulation
Once the dome was done, I covered it with a layer of chicken wire and then slapped on a thick layer of clay and sand mix. This was for insulation, to keep the heat in. I let that dry for a few days, too. Then, I built a little archway at the front and a simple chimney on top. I found a metal door from an old stove at a junkyard, cleaned it up, and attached it to the front. It fit perfectly, which was a huge relief.
Firing It Up
After everything was dry, it was time for the first firing. I carefully removed the sand form from inside, lit a small fire, and gradually increased the temperature over a few hours. This was to cure the clay and make sure everything was solid. I was a bit nervous, not gonna lie, hoping it wouldn’t just collapse or something. But it held up great!
Finally, after a week of work, I had my very own brick oven. I baked my first pizza in it a few days later. It took a bit of practice to get the temperature right, but man, that pizza was amazing! The crust was perfect, crispy on the outside, and soft on the inside. Way better than anything I’ve ever made in a regular oven. I’ve also baked bread in it a couple of times, and it’s been fantastic. The oven gives it this amazing, rustic flavor that you just can’t get any other way.
- Was it worth it? Absolutely.
- Would I do it again? Maybe not for a while, my back still remembers it.
- But am I happy with it? You bet!
- Is it cheaper than just buying a pizza oven? Probably not, considering the time and effort, but it’s way more satisfying to build it yourself.
It’s not perfect, a little wonky in places, but it’s mine, and it makes some damn good pizza.


