Okay, so I’ve got this fireplace, right? It’s old, and, well, the mortar between the bricks started looking pretty rough. You know, crumbling, cracking, the whole nine yards. I figured it was time to roll up my sleeves and get my hands dirty. I mean, how hard could it be to fix some mortar, right? Turns out, it’s not rocket science, but there’s definitely a process to it.
First things first, I had to gather my supplies. I went and got myself a good-looking chisel, a sturdy hammer, a wire brush, some safety goggles (safety first, folks!), and a bucket of pre-mixed mortar. Oh, and a pair of gloves, ’cause I didn’t want to wreck my hands.


Next, I put on those goggles and started chipping away at the old, damaged mortar. I used the chisel and hammer, taking it slow and steady. The goal was to remove about an inch or so of the old stuff, making sure I got rid of anything that was loose or crumbly. It was a bit of a workout, I won’t lie.
Once I had the old mortar out, I used the wire brush to clean out the joints. I had to make sure there wasn’t any dust or debris left in there. Then I took a hose and sprayed down the joints. This was to help the new mortar stick better. It’s like giving the bricks a little drink before they get a new coat.
- Chisel away old mortar.
- Clean joints with a wire brush.
- Dampen the joints with water.
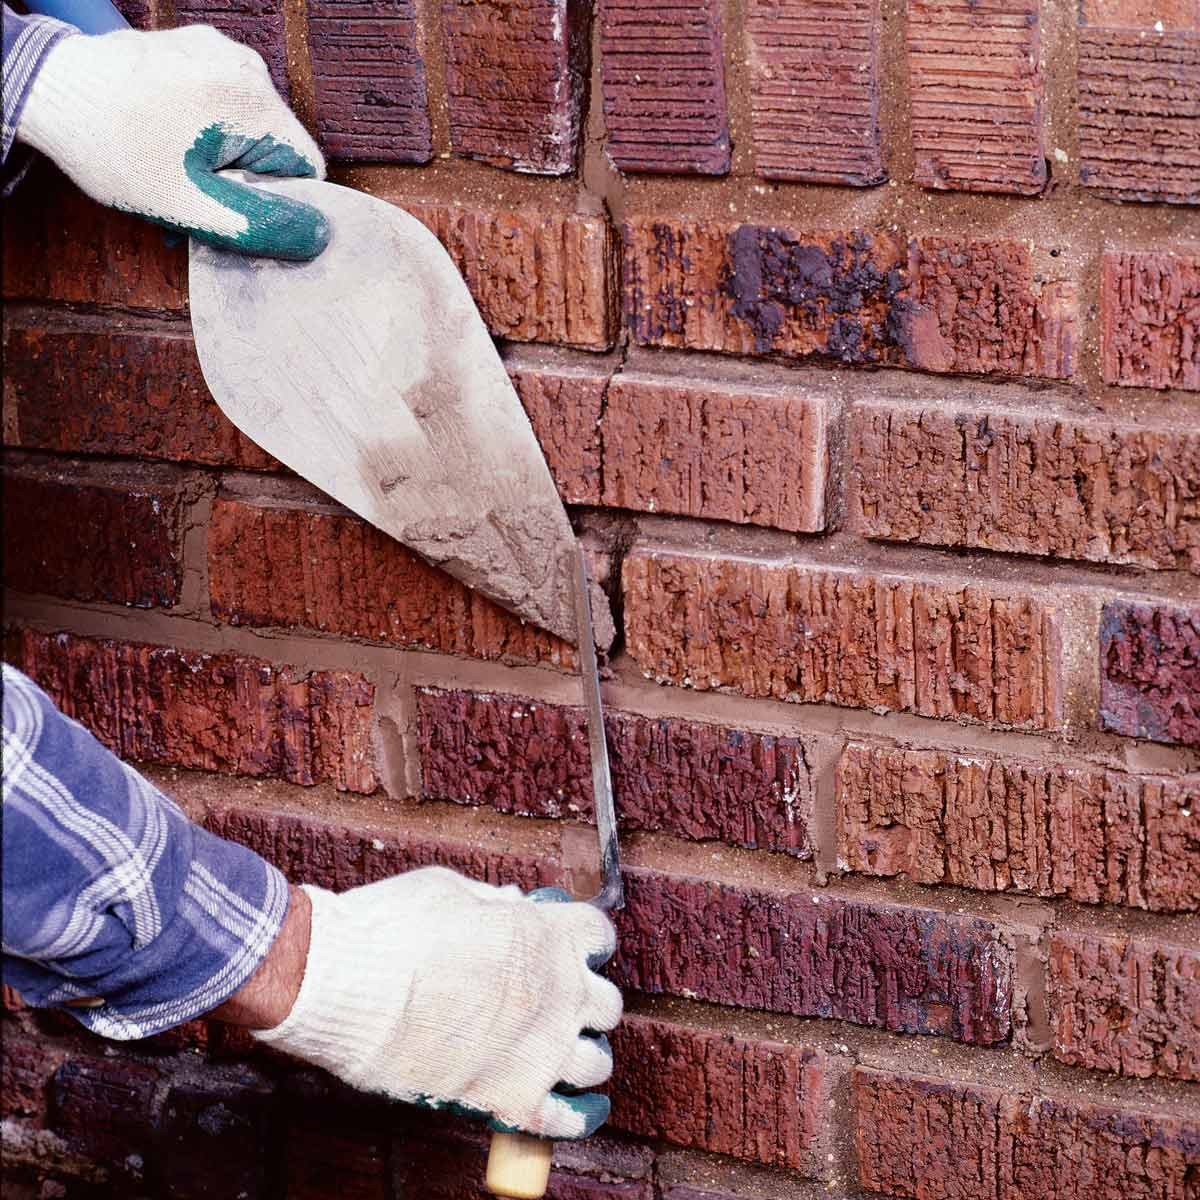
Now, for the fun part. I grabbed my bucket of pre-mixed mortar and started filling in the joints. I used a trowel to pack it in there nice and tight. The key was to make sure the new mortar was flush with the surface of the bricks, or maybe just a tad recessed. Then, once it was all filled in, I used a jointer tool to smooth it out and make it look nice and neat.
Keep It Neat
After letting it set for a bit, I used a damp sponge to clean up any excess mortar on the bricks. And that was pretty much it! I let it cure for a few days, just to be safe, before lighting a fire in the fireplace again.
Honestly, it was a satisfying project. The fireplace looks a heck of a lot better, and I learned a thing or two about masonry. Plus, I saved myself some money by doing it myself. If you’re thinking about tackling your fireplace mortar, I’d say go for it. Just be patient, take your time, and you’ll be surprised at what you can accomplish.


