Okay, let’s talk about something that got me super excited a while back – building my own brick pizza oven. I’ve always loved the idea of making pizzas at home, especially in one of those awesome outdoor ovens.
First things first, I picked a spot in my backyard. It needed to be somewhere that could handle a permanent structure, ’cause once this thing’s in, it ain’t moving! I spent a good amount of time just staring at the yard, picturing where the oven would fit best. After much pondering, I settled on a cozy corner that was just perfect.
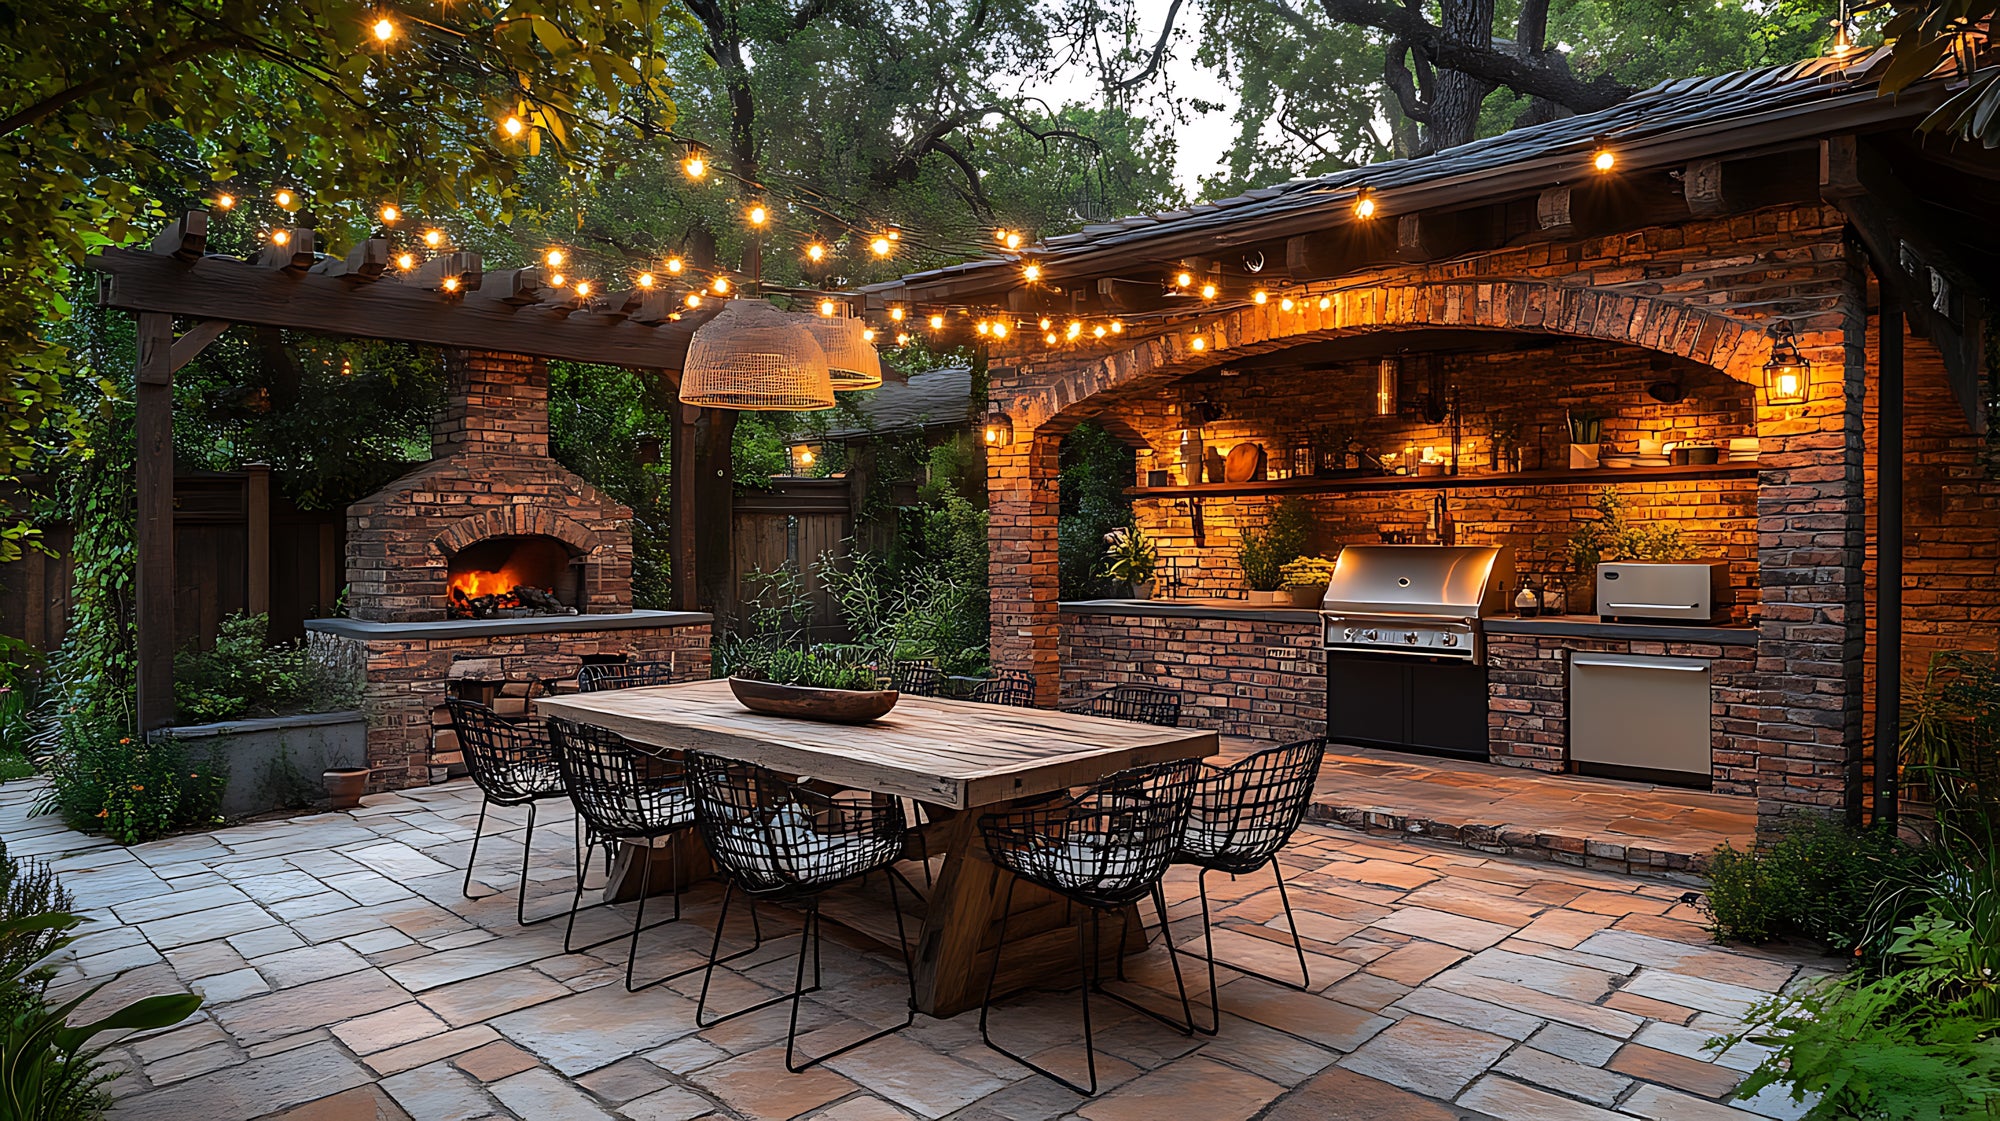

Next up, the foundation. I dug out the area and prepared a pad site. This part was a bit of work, not gonna lie. I got some 2x10s and built a form for the concrete pad. Measured it all out, made sure it was level – you know, the whole nine yards. Our pad ended up being eight feet, which I figured was a good size for the oven and a bit of workspace.
Once the form was ready, it was time to mix and pour the concrete. That was a workout, let me tell you! Lots of mixing, pouring, and smoothing. After the concrete was in, I let it set for a few days. Patience is key, they say.
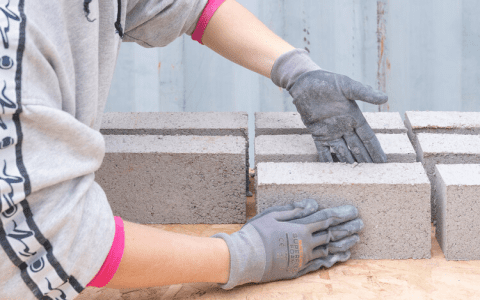
After the concrete was solid, it’s time to lay down some bricks. I started building up the base, making it a square, brick by brick. I placed each brick carefully, making sure the walls were straight and sturdy. It was kinda like playing with giant, heavy LEGOs. This thing was starting to look pretty cool, if I do say so myself.
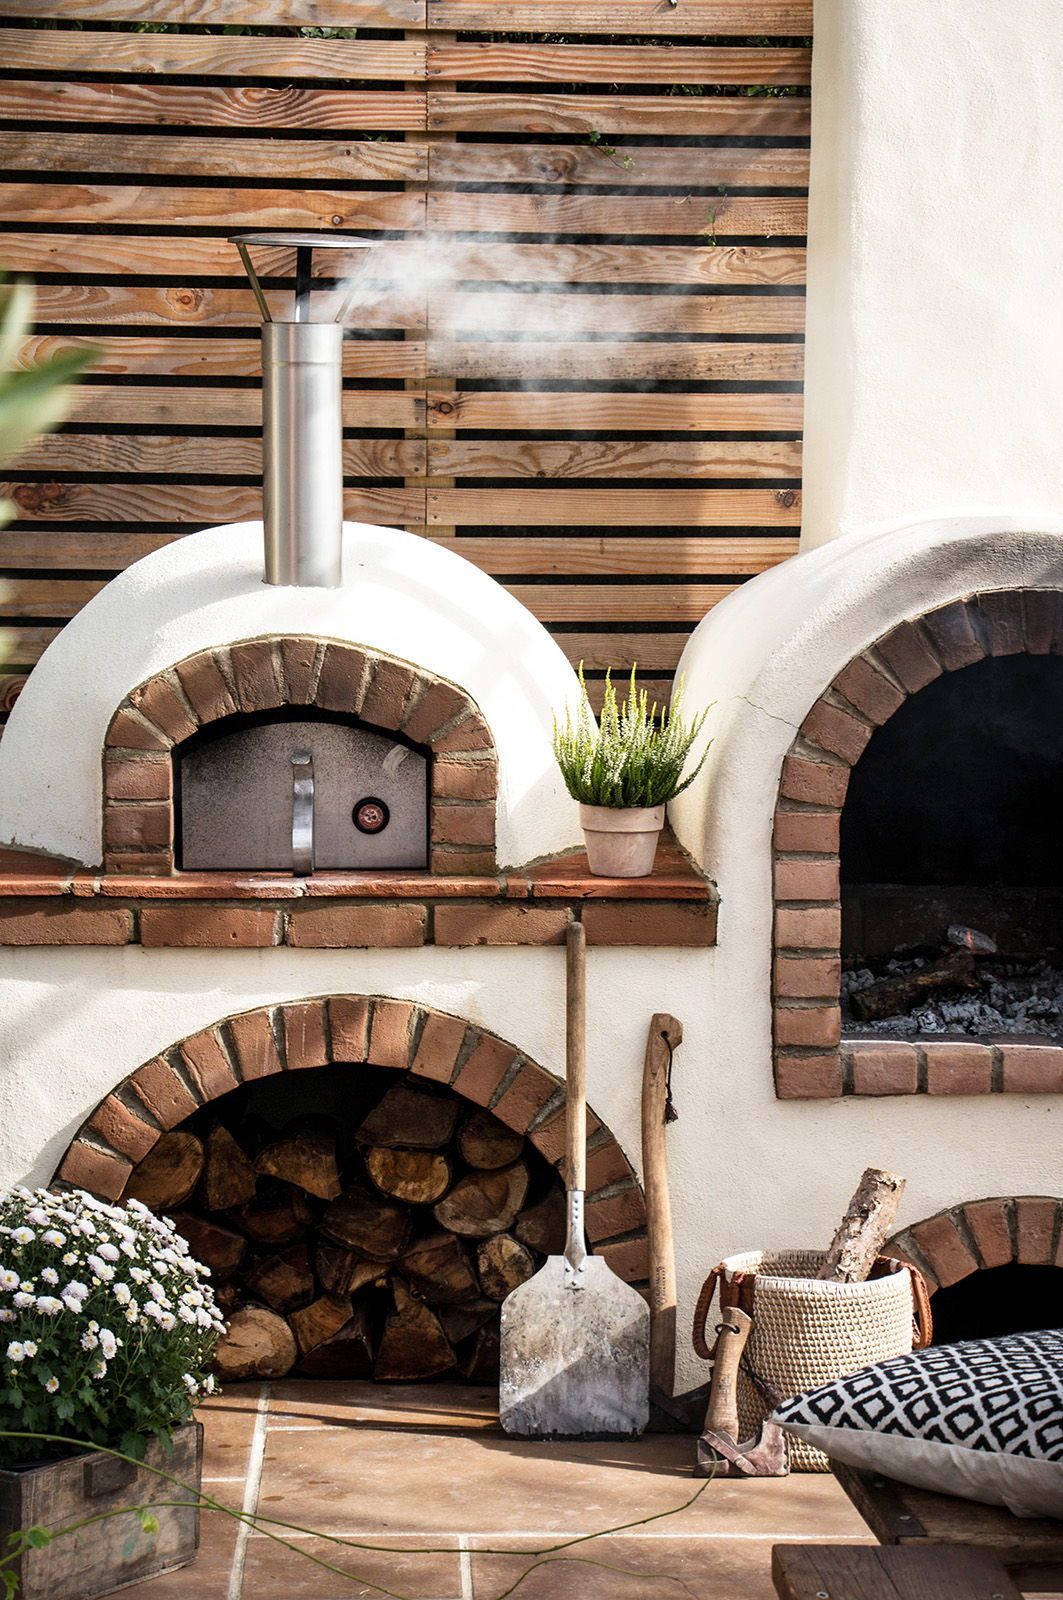
Once the base was done, I moved on to the actual oven part. This is where it got a bit tricky. I had to shape the bricks into a dome. It took some figuring out, but I managed to get it done. Each brick had to be placed just right to create that curve. Slowly but surely, the dome took shape.
I added a nice chimney at the top for the smoke. Then I decorated the outside of the oven with red brick veneer and some white tile for style. I wanted it to look good, you know? And I added a door with a metal frame on the front.
Finally, after weeks of work, it was done! My very own brick pizza oven. I let it cure for a bit longer, then it was time for the first test run. I built a fire inside, let it get nice and hot, and slid in a pizza. You guys, it was amazing! The pizza cooked in like, 60 seconds, and it was the best pizza I’d ever had.
- Choose the location
- Dig the foundation
- Build form and pour concrete
- Lay bricks to make the base
- Shape bricks for the dome
- Build the chimney
- Add the finishing touches
- Fire up and enjoy pizza!
Building a brick pizza oven is a big project, no doubt. But if you’re up for a challenge and you love pizza, it’s totally worth it. Trust me, there’s nothing like pulling a fresh, homemade pizza out of your own brick oven.
If you ever decide to build one yourself, remember to take your time, don’t rush things. I’m no expert, but I learned a lot doing it. And hey, if I can do it, you can too! So, that’s my brick pizza oven story. Hope you enjoyed it!
