Alright, folks, gather ’round. Today, I wanna share my little adventure of building a simple brick outdoor fireplace. Nothing fancy, just something to keep us warm on those chilly evenings and maybe roast a marshmallow or two. I’m no expert, just a regular guy who likes to get his hands dirty, so bear with me.
First off, I did some digging around on the internet, just to get an idea of what I was getting myself into. I saw all these prices, from $1,500 to a whopping $9,000! Then read about prefabricated models ranging between $1,200 and $8,335. I ain’t made of money, so I figured I’d try to do it on the cheap. After all, how hard could it be to stack some bricks, right? It also mentioned that on average, the cost is $3,000. And if I use prefab models like Mason Lite or Isokern, it will be cheaper than building a custom masonry fireplace and chimney.


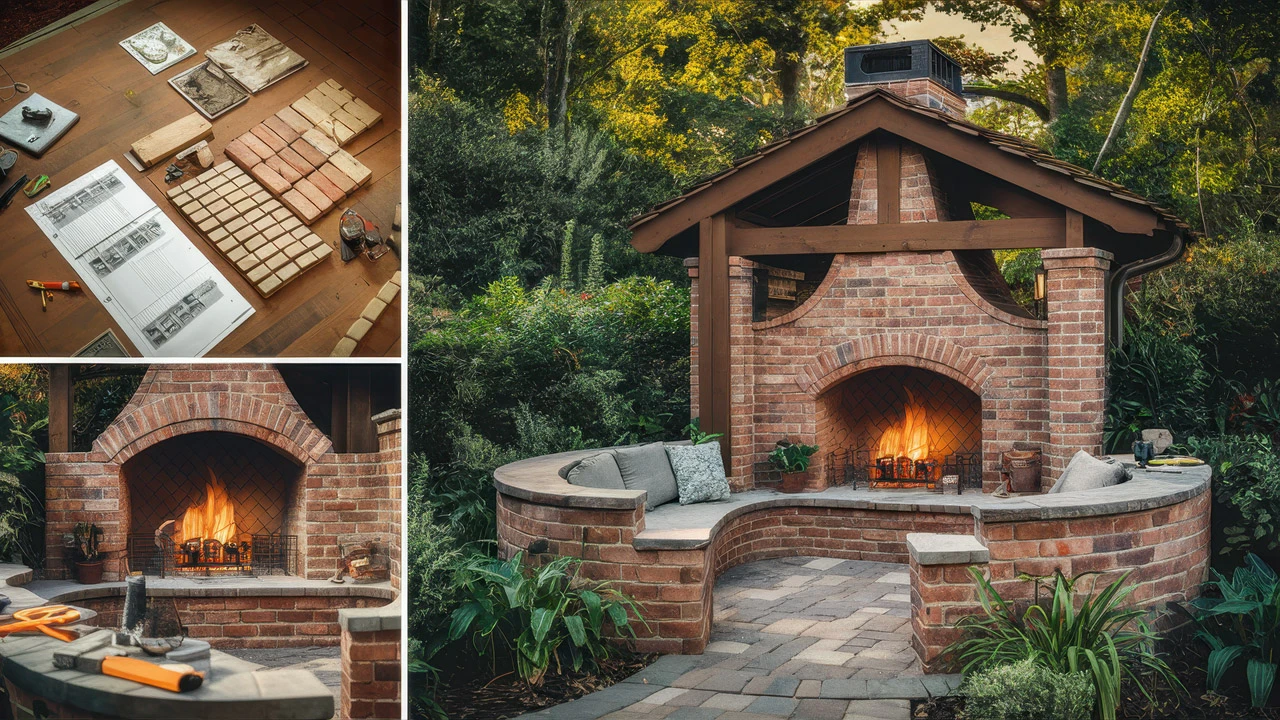
Planning: I grabbed a piece of paper and sketched out a rough design. I wasn’t aiming for the Taj Mahal, just a basic rectangular shape with a firebox and a chimney. I figured about 80 to 100 standard bricks for a single layer around the perimeter. I wanted it sturdy, so I planned to double up. I measured out the space in my backyard, making sure there was plenty of room around it. Safety first, you know?
Getting the Materials
Next, I made a list of materials. I needed bricks, of course, and some mortar to hold them together. I also needed a concrete slab for the foundation, some firebricks for the firebox, and a metal damper for the chimney. I hit up my local hardware store and loaded up my truck. It wasn’t as cheap as I’d hoped, but hey, it was still cheaper than buying a pre-made one.
Laying the Foundation
Before I could start stacking bricks, I had to lay a solid foundation. I dug a shallow pit, about six inches deep, and filled it with gravel for drainage. Then, I mixed up some concrete and poured it into the pit, leveling it off with a trowel. I let it cure for a couple of days, just to be sure it was good and solid.
Building the Firebox
Once the foundation was ready, I started on the firebox. I used firebricks for this part because they can withstand higher temperatures than regular bricks. I laid them out in a rectangular shape, using mortar to hold them together. It was slow going, but I took my time, making sure each brick was level and plumb. Used some metal rods as a simple support for the firebox opening. It’s not pretty, but it gets the job done.
Stacking the Bricks
With the firebox in place, I started on the outer walls. I used regular bricks for this, laying them in a running bond pattern. It’s a classic look, and it’s pretty easy to do. I mixed up the mortar, spread it on the bricks, and started stacking. Row by row, the fireplace began to take shape. It wasn’t perfect, but I was proud of my handiwork.
Building the Chimney
The chimney was the trickiest part. I had to make sure it was tall enough to create a good draft, but not so tall that it looked out of place. I also had to install a damper to control the airflow. I took it slow and steady, one brick at a time. It wasn’t easy, but I managed to get it done.
Finishing Touches
Once the chimney was finished, I added a few finishing touches. I built a simple mantel above the firebox and added a metal grate to hold the logs. I also cleaned up any excess mortar and gave the whole thing a good once-over.
And there you have it, folks. My simple brick outdoor fireplace. It’s not fancy, but it’s mine. It took a few weekends of hard work, but it was worth it. Now, I can enjoy cozy evenings by the fire, roasting marshmallows and telling stories. And the best part? I did it all myself. If I, a regular joe, can do it, you can too. Just remember to plan it out, take your time, and have fun with it!


It’s a bit rough around the edges, but I’m planning on adding some stone veneer to give it a more polished look. Stay tuned for that update, but for now, I’m just gonna enjoy my new fireplace.
So, if you’re thinking about building your own outdoor fireplace, go for it! It’s a rewarding experience, and you’ll end up with something you can be proud of. Plus, you’ll save a ton of money compared to buying a pre-made one or hiring a contractor. Just don’t be afraid to get your hands dirty, and remember, it doesn’t have to be perfect to be awesome.
The crackling fire is calling my name. Time to relax and enjoy the fruits of my labor! Catch you all later!


