So, the other day, I decided my backyard was seriously missing something. That something? A proper barbecue grill. Not one of those flimsy metal things that rust out faster than a leaky bucket in a rainstorm. No, I wanted a real, solid, last-forever kind of grill. I’m talking about a brick barbecue grill, folks.
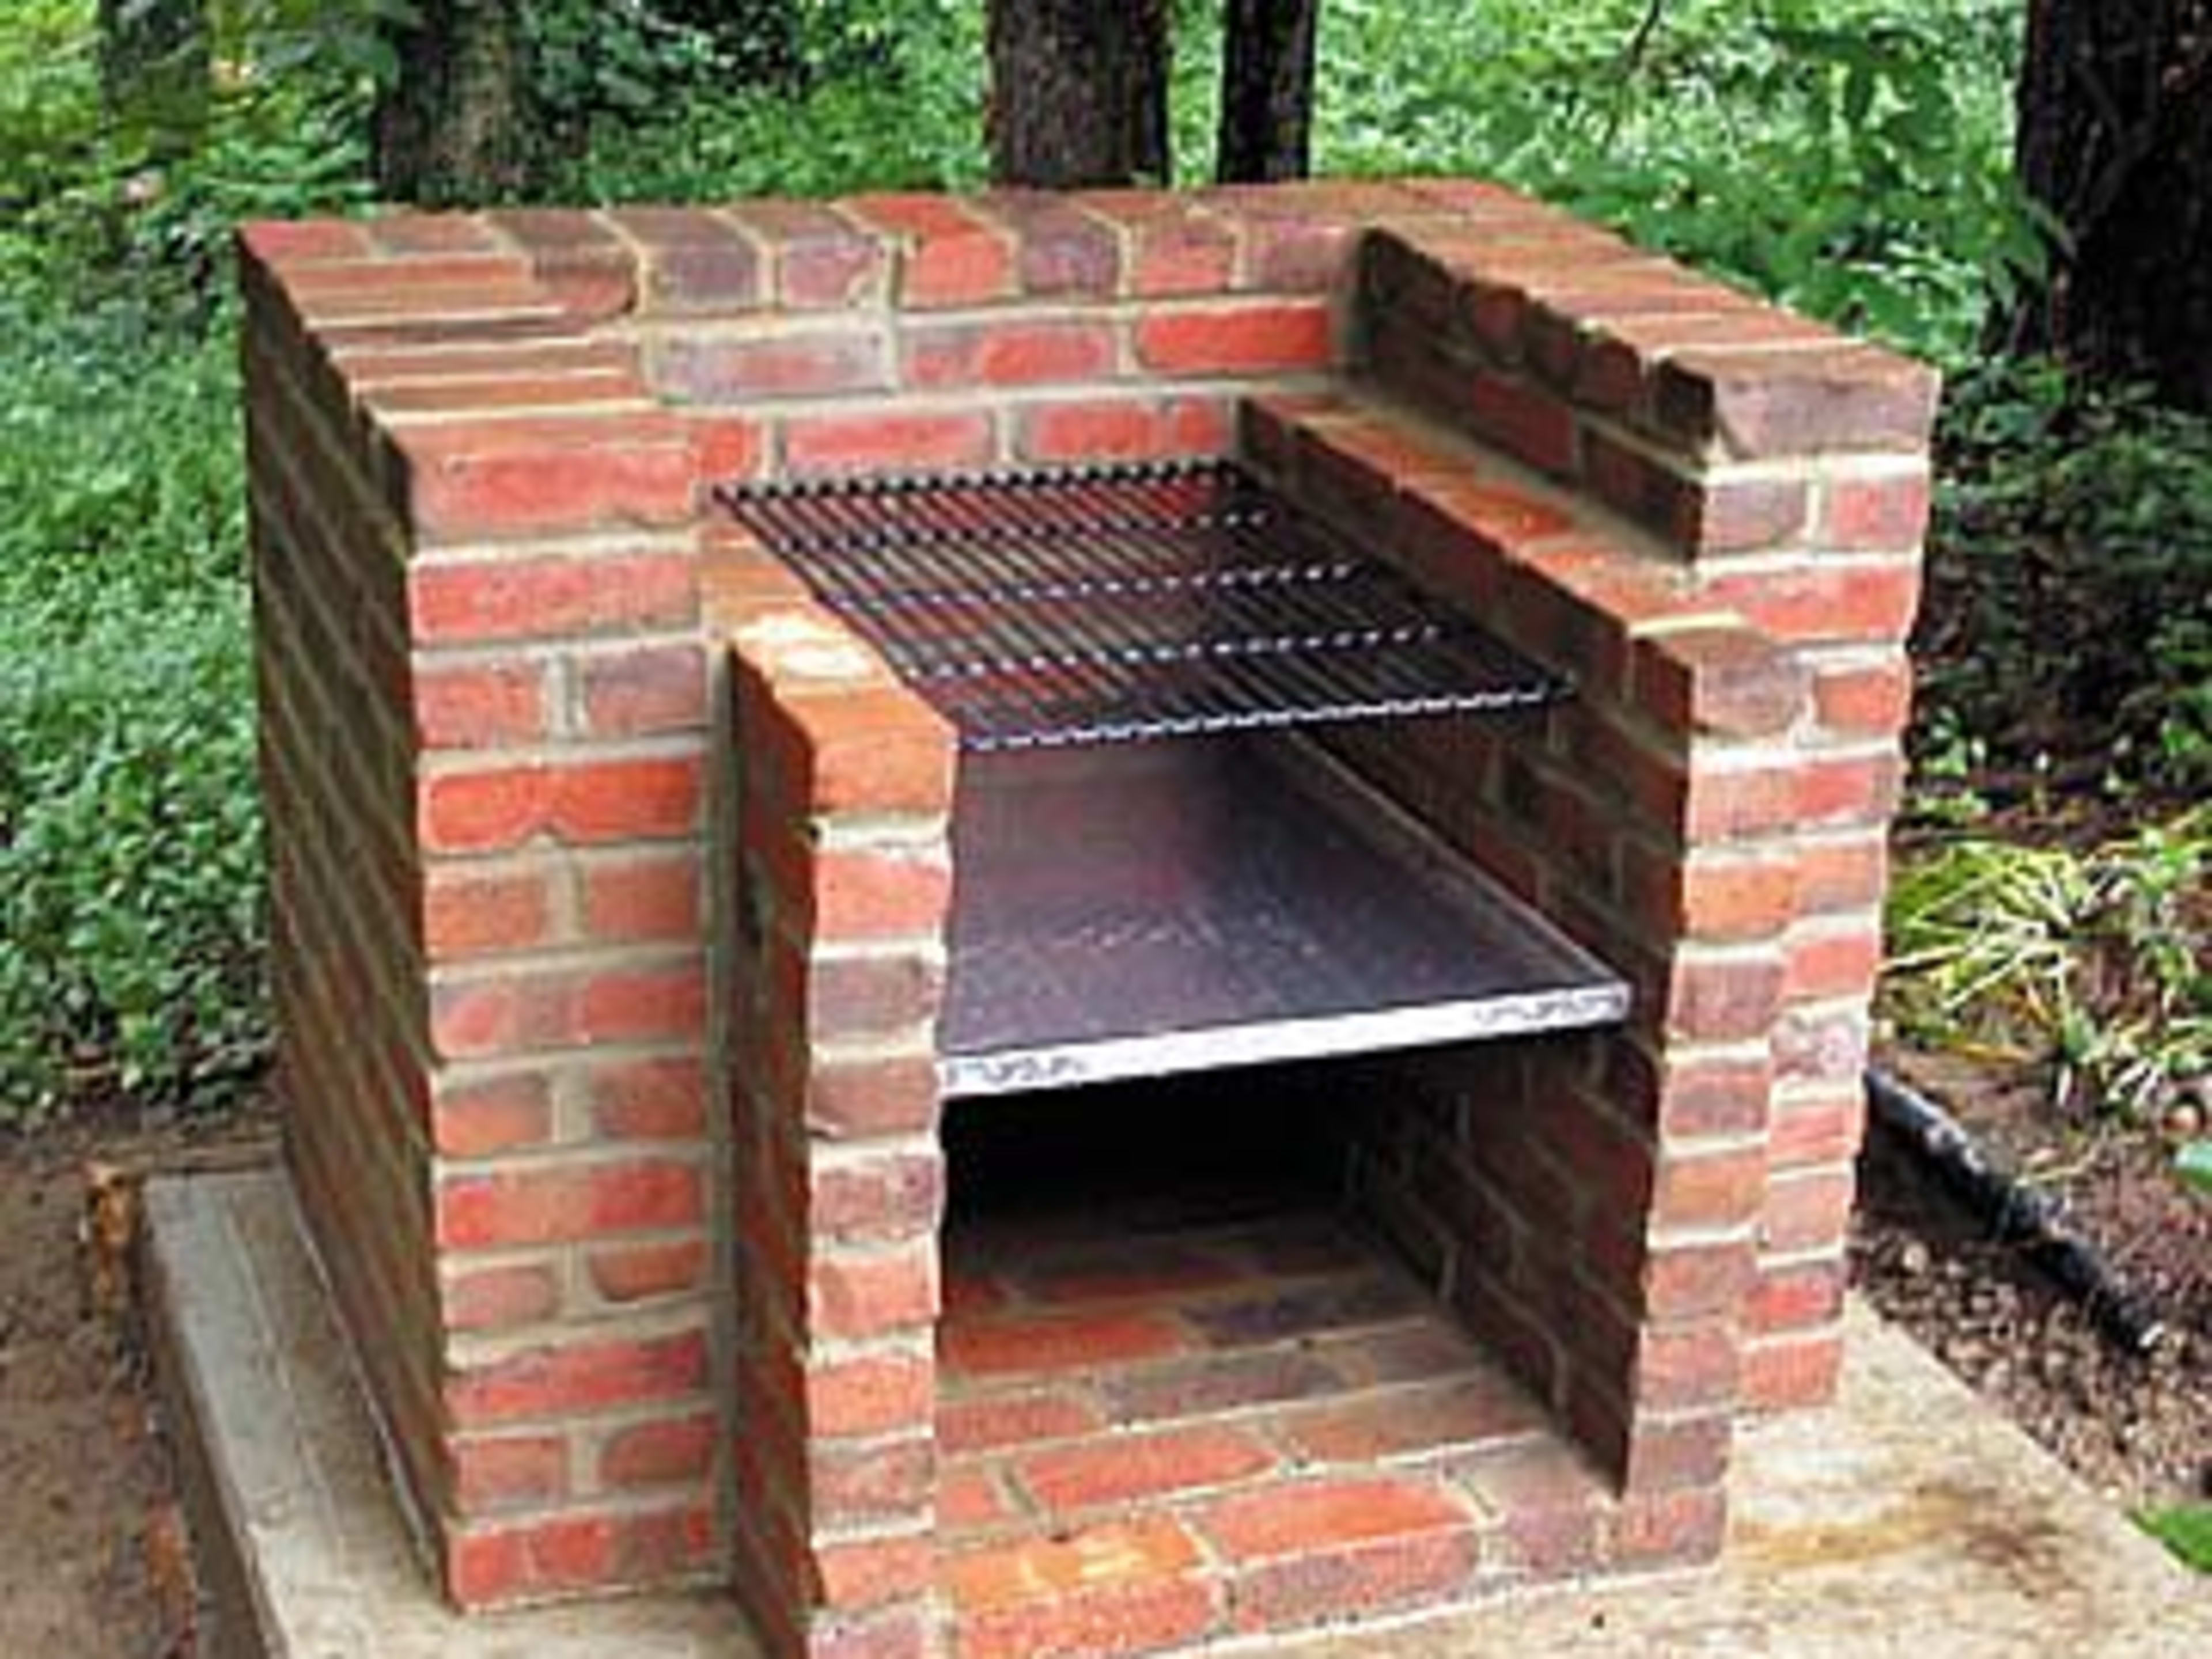
First things first, I had to get my hands on some bricks. I figured I’d need at least 100, maybe 150 if I wanted to get fancy and build it taller or with a prep table. You can’t just use any old bricks, mind you. I went for standard-size clay bricks, each one about 230mm long, 110mm wide, and 76mm deep. And, of course, I grabbed a barbecue grilling set with a tray for coals and a couple of grills – one for cooking and one for keeping things warm, just in case.


Now, these bricks aren’t exactly Legos, so I knew I’d need some mortar to hold them together. I figured on a 10mm mortar joint, which is just a fancy way of saying the space between the bricks filled with mortar. Since some bricks would need to be cut, I ended up buying around 156 bricks, just to be safe.
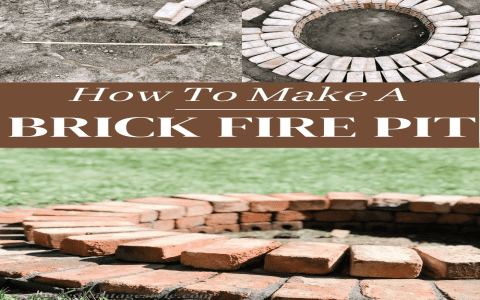
Next up was figuring out where this bad boy was going to live. I picked a nice, level spot in the yard, far enough from the house so I wouldn’t smoke us out, but close enough that I wouldn’t have to run a marathon every time I wanted a burger. Then I got down to it and started digging.
- Those lawn edging paver stones I used for the barbecue sides need to be buried about 1/3 of their length into the ground – that’s a good 34cm, give or take.
- So, I dug a trench, making sure it was nice and level. This was going to be the foundation for my grill, so I didn’t want it leaning like the Tower of Pisa.
Dig a solid base
After that, it was time to start stacking. I laid down a layer of mortar, then started placing bricks, making sure to stagger the joints like you see in those old brick buildings. It wasn’t exactly rocket science, but it did take some time and patience. I used the wooden forms to get the shape I wanted. I built up the sides, leaving a space in the front for the coal tray and another above for the grill.
Once the main structure was up, I added the finishing touches. I built a little shelf on the side for my barbecue tools and a prep area on top. I even added a couple of hooks to hang my tongs and spatula. I mean, why not go all out, right?
Finally, after a few days of hard work, my masterpiece was complete. And let me tell you, it was worth every drop of sweat. I fired it up that weekend, and the burgers I cooked on it? Best I’ve ever had. There’s just something about cooking on a grill you built yourself that makes the food taste better. Plus, I know this thing is going to last. My grandkids will probably be grilling on it someday. So, if you’re looking for a weekend project that’s both challenging and rewarding, I highly recommend building your own brick barbecue grill. Just be prepared to get your hands dirty!


