Alright, so I’ve always wanted a nice spot in my backyard for barbecues, and I finally decided to take the plunge and build a brick BBQ pit. I ain’t no expert, but I figured, how hard could it be? Turns out, it’s a bit of a project, but totally doable. I started by clearing out a space in my backyard. I wanted to make sure it was big enough for the pit and had some room around it.
Prepare the Area
I dug out the area, making it level and a bit deeper than I thought was necessary, just to be safe. Then, I laid down a base. Some folks use concrete, but I went with a simpler route of using paving slabs. I thought they’d be easier to work with, and they seemed sturdy enough. I placed them carefully, making sure they were all level. It’s kinda like putting together a puzzle, except these pieces are heavy!


Lay the Foundation
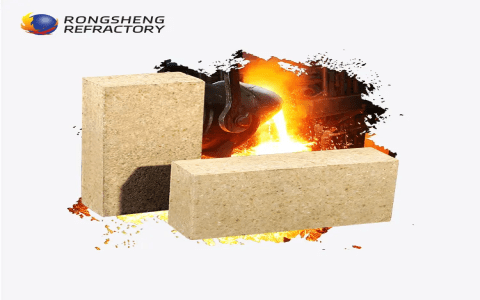
Once the base was set, it was time to start with the bricks. I’d picked up some regular bricks from a local store. Nothing fancy, but they looked good. The important thing, I learned, is the mortar. You can’t just use any regular mortar; it needs to be heat-resistant. I found this special kind at a home improvement store, and it seemed to do the trick.
Mix the Mortar
Mixing the mortar was a bit of a workout. You add water and mix it until it’s like a thick paste. Too runny, and it won’t hold, too thick, and it’s hard to work with. I messed up the first batch, but got the hang of it eventually.
Start Laying Bricks
Laying the bricks was the fun part, but also kinda tricky. I started at the corners, laying down a layer of mortar, then placing the brick on top. I used a level to make sure each brick was straight and even. It’s important to stagger the bricks, like in those old buildings. It makes the structure stronger.
Build the Walls
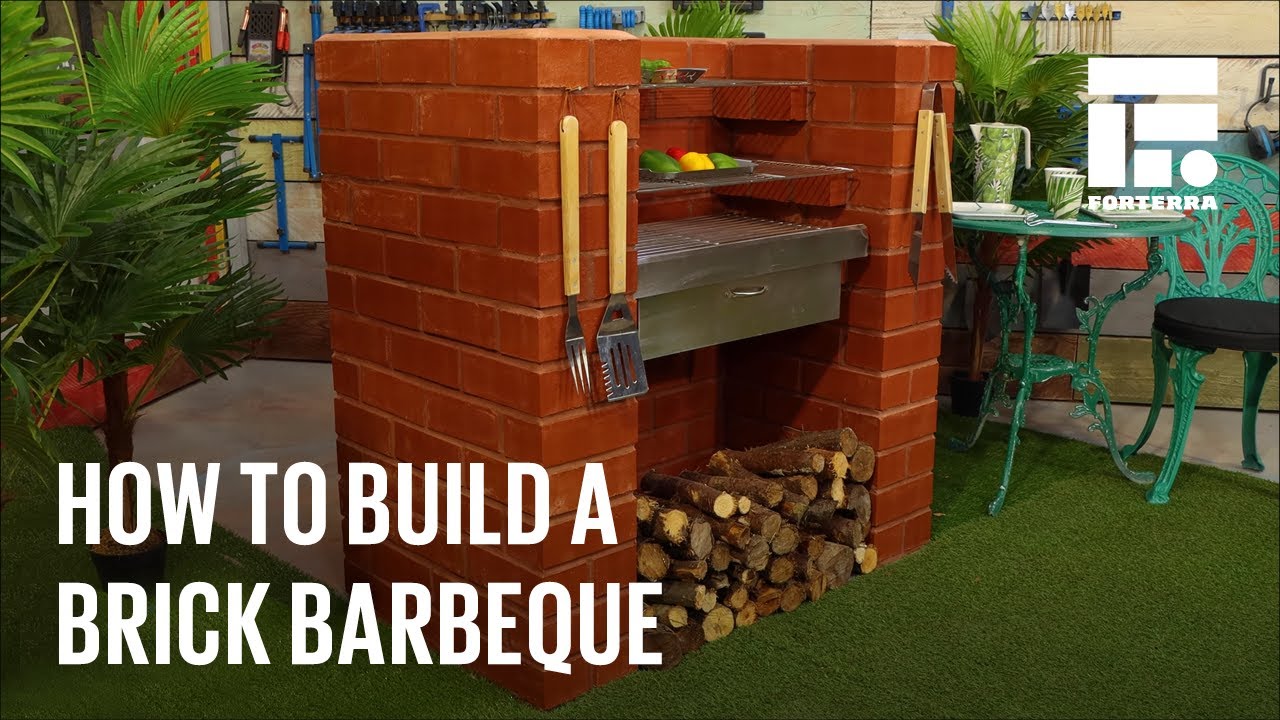
I built up the walls layer by layer, checking the level and making sure everything was aligned. I left space for the grill pans, which I’d picked up earlier. They were pretty cheap, and I figured it was easier to build around them than to try to fit them in later.
Add the Grill Pans
Once the walls were high enough, I placed the grill pans in their spots. I used some extra bricks to hold them in place and make sure they were secure. It was starting to look like a real BBQ pit!
Finish the Structure
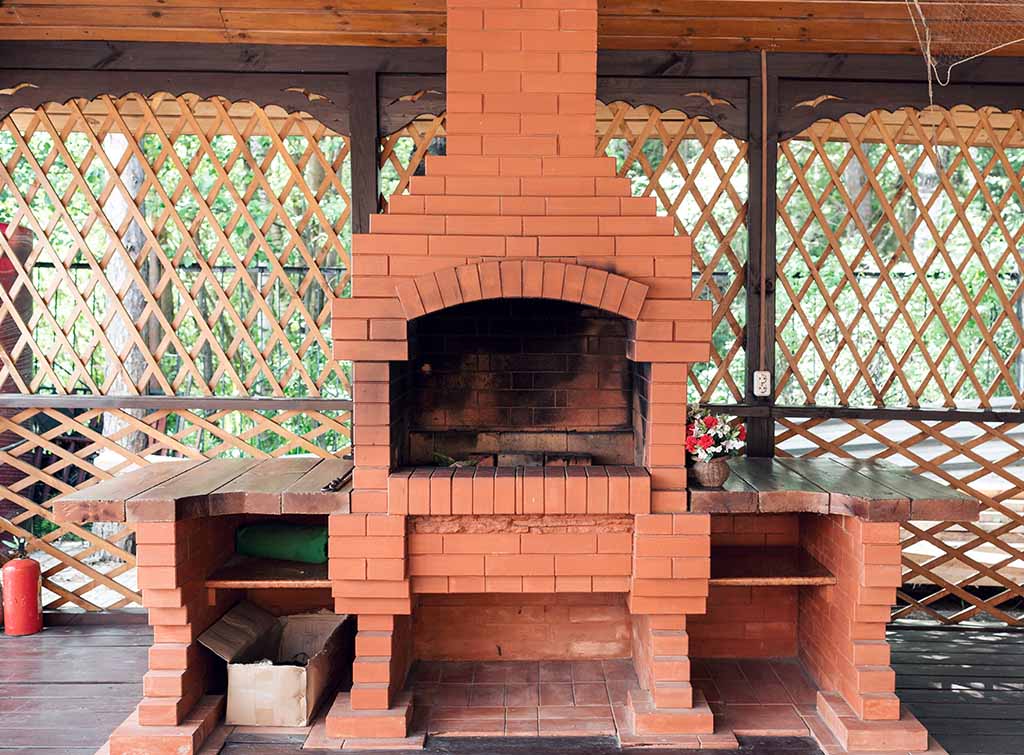
I finished off the top with a few more layers of bricks, making sure everything was neat and tidy. I let the whole thing dry for a few days. I was itching to use it, but I knew the mortar needed time to set properly.
First Barbecue
Finally, the day came to fire it up. I loaded it with charcoal, lit it up, and threw on some burgers and hot dogs. It felt amazing to cook on something I’d built myself. The food tasted great, maybe because of the effort I put in, or maybe it was just my imagination. I invited some friends over, and we had a blast.
Costs
- Bricks: I spent about $50 on regular bricks.
- Mortar: The heat-resistant mortar was around $20.
- Grill Pans: These were about $45 for a set.
- Paving Slabs: Around $35 for the lot.
- Total: Roughly $150. Not too bad for a custom BBQ pit!
In the end, building the BBQ pit was a rewarding experience. It wasn’t always easy, and I definitely made some mistakes along the way. But I learned a lot, and now I have a cool, functional BBQ pit in my backyard. It’s become the centerpiece of our outdoor gatherings, and I’m proud to say I built it with my own two hands. If you’re thinking about doing something similar, I say go for it. Just be prepared for some hard work, and don’t be afraid to ask for help if you need it. Happy building!


