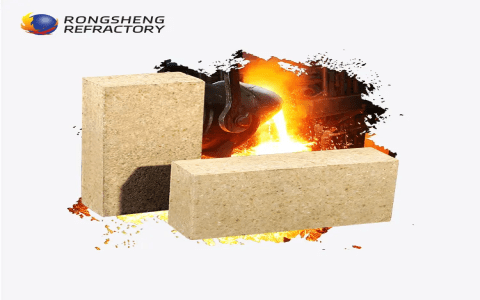
Oh, let me tell you ’bout buildin’ a brick smoker. It ain’t too hard, ya see. First thing ya need is some good fire bricks. Regular bricks just ain’t gonna cut it. They’ll crack and crumble with all that heat. Fire bricks are made special, like. They can take the heat without fallin’ apart. Now, if you got metal around, that works too, but bricks keep the heat steady, so ya don’t gotta fuss much with the fire.
Now, I built my whole smoker for just $189. That included the burner for propane gas and even an electric hotplate. Ain’t that somethin’? You don’t need to spend a fortune to get a good smoker goin’. Just gotta plan it out right.


Step One: Plan Your Smoker
First off, ya gotta decide how big ya want it. Think about how much meat ya usually cook. If you got a big family, ya might wanna make it bigger. But if it’s just you and the missus, a smaller one’ll do just fine. Just stack them cinder blocks up nice and neat, and you got yourself a base.
Step Two: Gather Your Materials
- Fire bricks – can’t use just any bricks!
- Cinder blocks for the sides
- A good propane burner
- Electric hotplate if ya like
- Some concrete or mortar to hold things together
Once ya got everything, it’s time to get to work. Start stackin’ those cinder blocks. Make sure ya level ‘em out. If they ain’t level, your smoker won’t work right. You don’t want it all wonky, do ya?
Step Three: Build the Smoker Chamber
Now, build that smoker chamber. This is where all the magic happens, where your meat gonna get all smokey and delicious. Make sure it’s big enough to fit whatever you wanna cook. You might wanna put a door on it too, so you can check on things without lettin’ all the heat out.
Step Four: Add the Firebox
Next, you’ll need a firebox. This is where the fire gonna burn. It should be separate from the cooking chamber. You don’t wanna put your meat too close to the flames or it’ll be burnt to a crisp. Keep it at a nice distance, so the smoke can do its work without scorcherin’ everything.


Make sure the firebox has some good ventilation. Air needs to flow in and out, or you’ll just be sittin’ there with a pile of ashes and no smoke. Ain’t nobody got time for that!
Step Five: Putting it All Together
After you got the firebox built, connect it to the smoker chamber. You might need to use some bricks or metal for this part, depending on your design. Just be sure it’s all sealed up good, so no smoke gets out where it ain’t supposed to.
Once you got everything built, let it sit for a bit. The mortar or concrete needs time to dry. After a couple days, you can start up your smoker. Light the fire and let it get all nice and hot.
Step Six: Seasoning Your Smoker
Don’t forget to season your smoker before you cook anything in it. Just run a fire in there for a few hours without any food. This helps to get rid of any dust or debris left from buildin’. You want that first cook to be just right, don’t ya?
Then, when it’s ready, you can throw some ribs, brisket, or whatever you like in there. Just remember to keep an eye on the heat. You want it smokin’ but not too hot. Low and slow is the name of the game.
So, there ya have it. Buildin’ a brick smoker ain’t rocket science. Just gather your stuff, plan it out, and start stackin’. Before ya know it, you’ll be enjoyin’ some of the best smoked meats right in your backyard. Happy smokin’!


Tags:[brick smoker, building a smoker, backyard cooking, DIY smoker, fire bricks]


