Okay, let’s talk about this whole brick barbecue grill project I tackled. I’ve always wanted a nice grill area in my backyard, and I figured, why not build one myself? Plus, a brick one just looks so much nicer and lasts longer than those metal things you buy at the store.
Marking and Digging
First things first, I had to figure out where this thing was gonna go. I picked a spot that was far enough from the house and trees – safety first, you know? I marked out the area with some stakes and string, making sure it was big enough for the grill and a bit of workspace. Then came the fun part: digging. I dug out the whole area, about 6 inches deep, to make a solid base for the bricks.


The Base
Once the hole was ready, I put down a layer of gravel for drainage and compacted it with a hand tamper. Man, that was a workout! After that, I mixed up some concrete and poured it over the gravel, making sure it was level. This is gonna be the foundation, so it’s gotta be solid. I let that concrete cure for a couple of days, just to be sure.
Laying Bricks
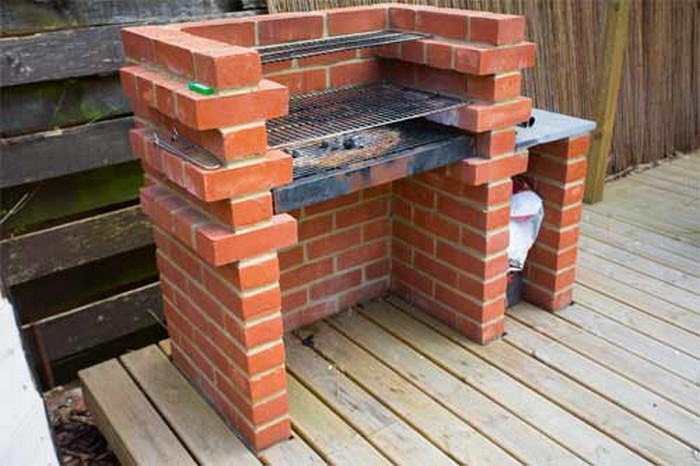
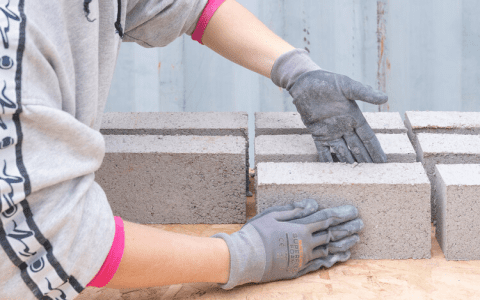
Now for the actual bricklaying. I started with the bottom layer, laying the bricks out in the pattern I wanted. I used mortar to stick ’em together, checking with a level every so often to make sure things were straight. It was kinda like a giant puzzle. Layer by layer, I built up the walls of the grill, leaving an opening in the front for the firebox.
The Firebox
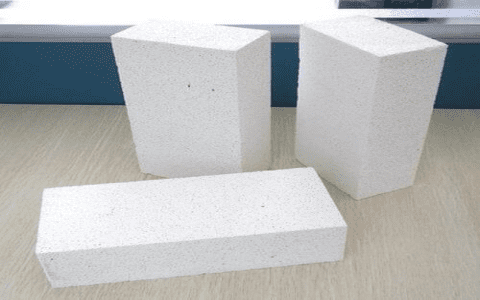
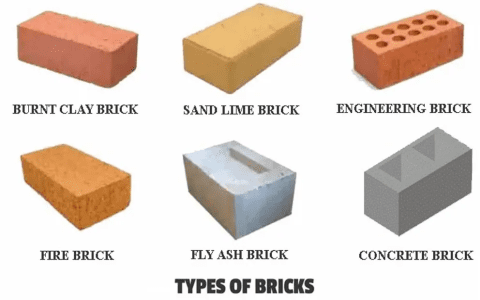
For the firebox, I used firebricks since they can handle the heat better. I lined the bottom and sides of the opening with these, again using mortar to keep them in place. This is where the fire’s gonna be, so it’s gotta be tough. Inside, I put in some metal brackets that I had found at the hardware store. I used these to hold a couple of grates.
The Top
Once the walls were up, I added a top to the grill. I used some bigger, flat stones for this, creating a nice, smooth surface. You could use more bricks, but I liked the look of the stones. And hey, it’s a good spot to set your grilling tools, right?
Finishing Touches
After everything was built, I let the mortar cure for a few days. Then I went over the whole thing, cleaning off any extra mortar and making sure it all looked good. I even added a little brick chimney on top, just for looks. Finally, it was time to fire it up! I built a small fire in the firebox to test it out, and it worked like a charm.
Man, that first barbecue on my new grill was amazing. Burgers, hot dogs, you name it. And let me tell you, everything tastes better when you’ve cooked it on a grill you built yourself. It was a lot of work, but totally worth it. Now I’ve got a sweet grilling spot that’s gonna last for years, and I did it all myself. Pretty cool, huh?


