I’ve always wanted a proper brick grill in my backyard, you know, for those epic summer cookouts. Store-bought ones are okay, but they just don’t have that same charm, and they can cost a fortune. Plus, I love a good DIY project. So, I finally decided to build my own brick outdoor grill, and let me tell you, it was quite the adventure.
First, I had to figure out the design. I spent hours looking at pictures online and sketching out ideas. I wanted something simple, not too big, but with enough space to cook for a crowd. Finally, I settled on a basic rectangular design with a side table, also made of bricks, for prep work.


Next up was the foundation. This is the most important part, and the one I was most nervous about. I did some research and found out that a concrete slab would be the best base for my grill. So, I marked out the area, dug a shallow pit, and built a wooden frame for the concrete. I mixed and poured the concrete, made sure it was level, and then let it cure for a few days. This was tough work, but I got it done!
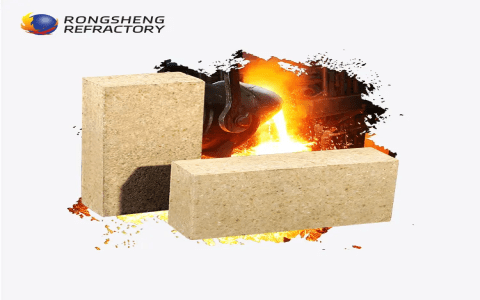
Once the foundation was solid, it was time to start laying bricks. I chose regular red bricks because they look good and are pretty affordable. I also bought some special high-heat mortar because, well, it’s a grill, and it’s gonna get hot.
I started with the bottom layer, carefully laying each brick and making sure they were level and evenly spaced. I used a trowel to spread the mortar and a level to keep everything straight. Let me tell you, laying bricks is harder than it looks! It takes patience and a good eye for detail, but I got into a rhythm after a while. I worked slowly, building up the walls layer by layer, leaving openings for the firebox and ash pit.
For the grill grates, I used some heavy-duty steel grates that I found at a hardware store. I built brick supports inside the grill to hold them in place. I also added a simple brick chimney to help with the smoke.
The side table was next. I built it the same way as the grill, using the same bricks and mortar. It’s just a small, simple structure, but it adds a lot of functionality to the whole setup.
After all the bricks were laid, I let the mortar dry for a few days. Then, I built a small fire in the firebox to test it out. It worked like a charm! The smoke went up the chimney, the grates got nice and hot, and the whole thing felt solid and sturdy. It was so satisfying to see my creation come to life.
I’ve been using my brick grill all summer, and I love it. It cooks food perfectly, and it looks amazing in my backyard. It’s become the centerpiece of our outdoor gatherings, and everyone is always impressed that I built it myself.
Building a brick grill is definitely a challenging project, but it’s also incredibly rewarding. If you’re thinking about doing it, I say go for it! Just make sure you do your research, take your time, and don’t be afraid to ask for help if you need it.


- It is a good choice to use common red bricks.
- Be sure to use mortar with heat-resistant properties.
- Build a solid foundation for your grill.
- A set of 700mm x 400mm grills is a good reference size.
My suggestions for you
Don’t rush the process. Building a brick grill takes time, so be patient and enjoy the journey. Double-check your measurements and make sure everything is level and square before you start laying bricks. It’s much easier to fix mistakes early on than it is to tear down and rebuild. Don’t be afraid to ask for help. If you’re not sure about something, reach out to someone who has experience with bricklaying or construction.
Finally, have fun with it! Building a brick grill is a great way to learn new skills, challenge yourself, and create something truly unique and special. Enjoy the process and be proud of what you’ve accomplished.


