Okay, so I’ve always been a huge fan of pizza. Not just any pizza, mind you, but that perfectly crispy, wood-fired kind that you usually only get at fancy Italian places. I figured, why not try to bring that magic to my own backyard? That’s when I started looking into building my own pizza oven, and let me tell you, it was quite the adventure.
I decided to go with clay bricks. Seemed like the best choice for that authentic, rustic feel, and they’re pretty good at holding in heat. The first thing I did was to map out a basic design. Just a simple dome shape, nothing too crazy. Then came the fun part – gathering the materials. I managed to find a local supplier for the clay bricks, which was a huge relief. Also picked up some sand, cement, and other bits and pieces from the hardware store.

Building the foundation was the first big step. I dug a shallow pit and filled it with a mix of gravel and sand for drainage. Then, I laid down a concrete slab as a solid base for the oven. I used some leftover wood to make a frame and poured the concrete mix in, It took a couple of days for the concrete to fully set, but hey, good things take time, right?
Once the foundation was solid, I started laying the clay bricks. The first layer was pretty straightforward, just a simple circle. Now I start to mix clay and sand, two parts of sand to one part of clay. Mixing them with water by my feet and make it like a firm mud. This is kind of interesting, like playing mud when I was a kid. I shaped the mud into a dome shape and stuck the bricks to it. I had to work pretty fast, or the mud will become dry. Then I kept adding layers, slowly building up the dome shape. It was a bit tricky, getting the angles right, but I took it slow, one brick at a time.
- First layer: Lay out the base circle of bricks.
- Build up: Start adding layers, shaping the dome.
- Doorway: Leave a gap for the oven opening.
- Chimney: Don’t forget a small opening at the top.
After a few days of hard work, the dome was complete. I even managed to carve out a little doorway and a chimney. It wasn’t perfect, but it was mine. I let the whole thing dry for about a week, just to make sure everything was set properly.
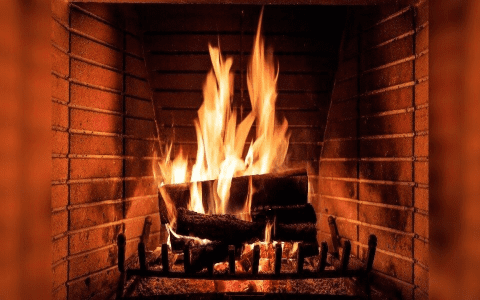
Finally, the moment of truth – the first firing. I built a small fire inside the oven, gradually adding more wood to get it nice and hot. It took a while, but eventually, the oven reached the perfect temperature. I slid in a homemade pizza, and let me tell you, the anticipation was killing me.
And you know what? It was amazing! The crust was crispy, the cheese was bubbly, and the flavor was out of this world. All that hard work definitely paid off. I guess that this style of cooking is indigenous to many cultures all over the world and still used by many cultures today.
So, yeah, that’s the story of my clay brick pizza oven. It was a challenging project, but totally worth it. Now, whenever I crave that authentic pizza experience, I just fire up the oven and enjoy a slice of heaven in my own backyard. It’s become a real conversation starter at parties, too. Who knew a pile of bricks could bring so much joy?