Okay, so I’ve been wanting a fire pit in my backyard for ages. You know, somewhere to just chill with friends, roast some marshmallows, and enjoy the outdoors. Finally, I decided, “Screw it, I’m doing it myself!” And let me tell you, it was quite the adventure.
First things first, I had to pick a spot. I paced around my backyard like a madman, trying to find the perfect place. I wanted it far enough from the house so we wouldn’t smoke ourselves out, but not so far that we’d have to trek across the yard in the dark. After about an hour of indecisive wandering, I finally settled on a nice, open area.


Next, I needed bricks. Lots of bricks. I’d read online that you shouldn’t use regular bricks for a fire pit because they can explode when they get too hot. Apparently, you need these special fire bricks, also called refractory bricks, which are designed to handle the heat. They’re thicker and wider than regular bricks, so they won’t crack or anything. I didn’t want any exploding bricks near me, so I headed to the home improvement store and loaded up my cart with a bunch of these bad boys. I ended up needing around 96, way more than I thought I would.
Once I had my bricks, I marked out the area for the pit. I used some string and stakes to create a circle, because I figured that was the easiest shape to build. Then came the fun part – digging! I grabbed my shovel and started digging out the area inside the circle. It wasn’t too deep, just about 6-12 inches. But let me tell you, it was a workout!
After I had my shallow pit, I had to create a base. I dumped a bunch of gravel into the bottom for drainage, because apparently, you don’t want water pooling in your fire pit. Then, I added a layer of sand on top of the gravel to make a nice, level surface for the bricks. I spent a good amount of time making sure it was all even because I didn’t want a lopsided fire pit.
Building the Walls
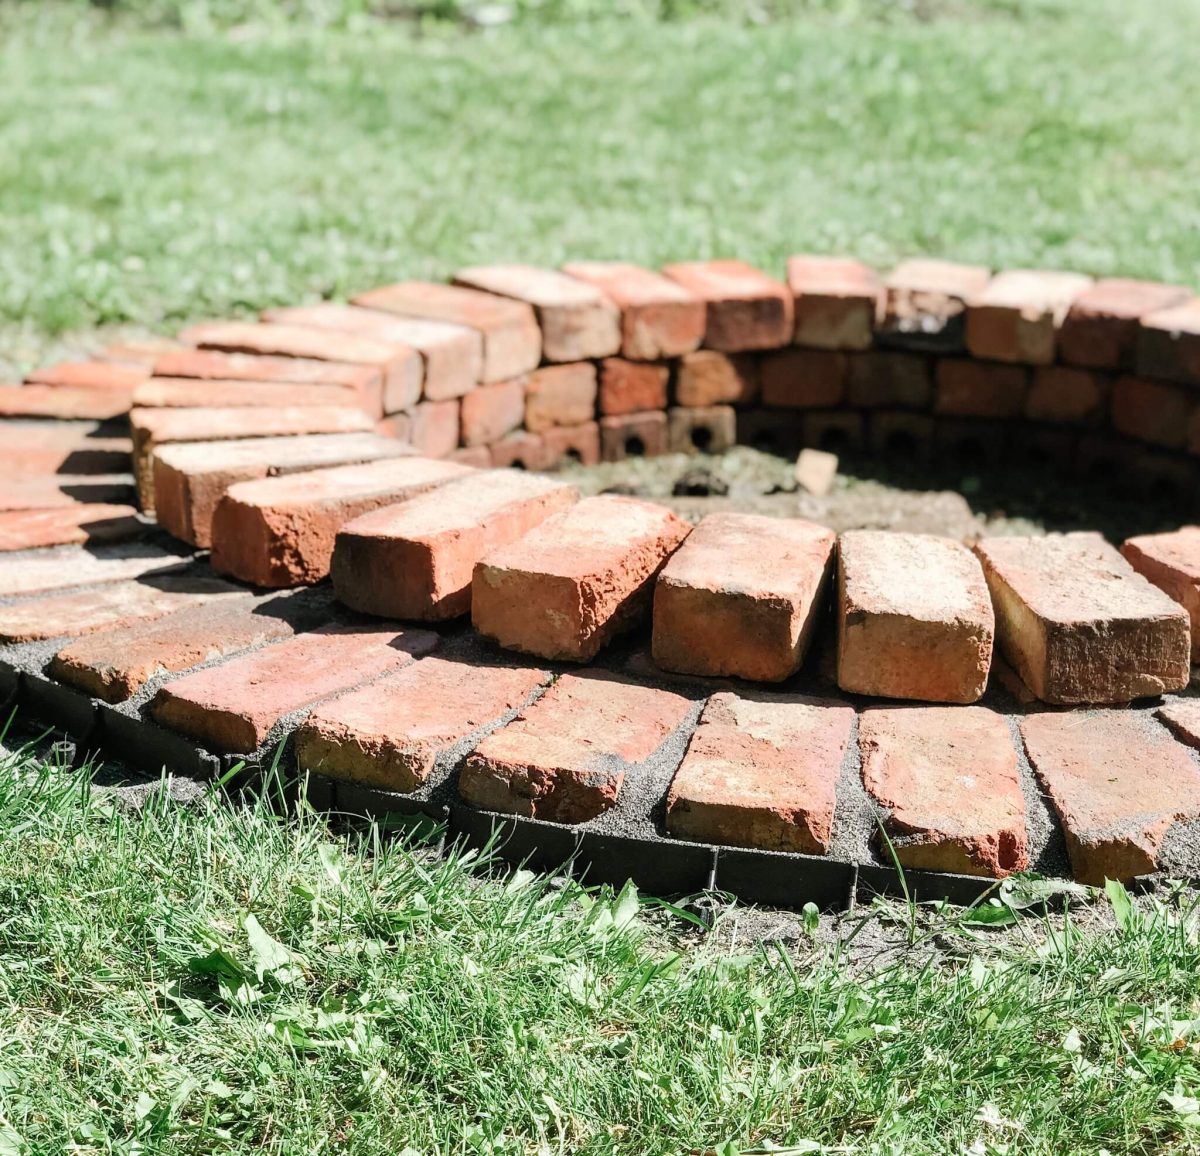
Now for the real construction. I started laying the fire bricks around the edge of the pit, forming the first layer of the wall. I overlapped them a bit, like you do when building a regular brick wall, to make it more stable. It actually started to look like a fire pit! I kept adding layers, stacking the bricks on top of each other and making sure everything was secure.
- First layer: Carefully placed the fire bricks around the edge of the pit, overlapping them slightly for stability.
- Building up: Continued adding layers of bricks, stacking them securely to form the walls.
- Checking level: Periodically checked to make sure the walls were level and made adjustments as needed.
Once the walls were high enough (I made mine about four layers high), I was pretty much done! I stepped back to admire my handiwork, and I have to say, it looked pretty damn good. I couldn’t wait to light the first fire.
That evening, I gathered some firewood, invited a few friends over, and we had our first fire pit night. It was awesome! We sat around the fire, chatting, laughing, and roasting marshmallows. It was the perfect way to end the day. And the best part? I built it myself!


