Okay, so I decided to build a brick grill in my backyard. I’ve always loved the idea of having a permanent grilling station, and after watching a bunch of videos online, I figured, “How hard could it be?” Turns out, it’s a bit more work than I anticipated, but totally worth it.
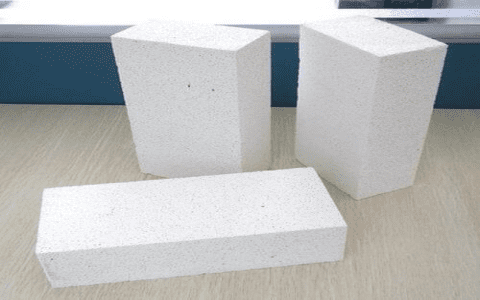
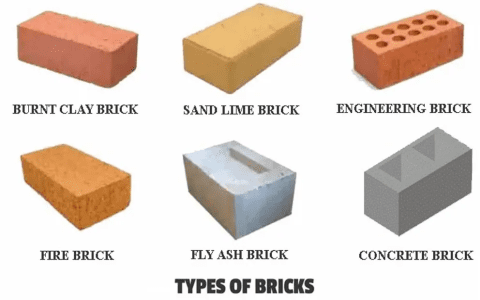
First, I gathered all the materials. I needed a ton of bricks, obviously, some mortar mix, sand, and gravel for the foundation. I also got some firebricks for the inside where the actual fire would be, since they can handle the heat better. Tools-wise, I picked up a trowel, a level, a rubber mallet, and a few other things from the hardware store. Oh, and a good pair of gloves, because bricks are rough on the hands.


The first step was laying the foundation. I dug out a shallow pit and filled it with a layer of gravel, then a layer of sand. I made sure it was all level, because a wonky foundation means a wonky grill. This part took some time, but it was super important.
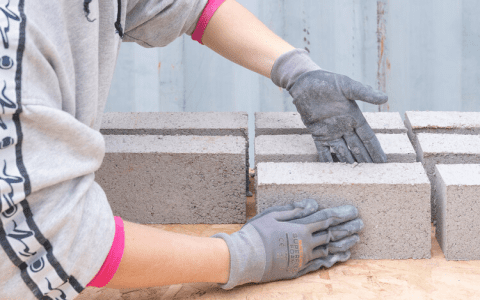
Next, I started laying the bricks. I mixed the mortar according to the instructions on the bag—it’s kind of like making a really thick, goopy paste. I’d spread some mortar on the foundation, place a brick, tap it down with the mallet, and then check if it was level. Then, I’d do it all over again with the next brick. It was slow going, but I got into a rhythm.
I built the walls up layer by layer, making sure to stagger the bricks like you see on buildings. This makes the structure stronger. After every few layers, I used the level to make sure everything was still straight. I also left some gaps in the brickwork on the lower part for air vents to help with airflow.
- Gathered all the materials.
- Laid the foundation with gravel and sand.
- Mixed the mortar and started laying the bricks.
- Built the walls up layer by layer.
- Made some gaps for air vents.
Once the main structure was done, I lined the inside with firebricks, again using mortar to hold them in place. These are crucial because they protect the regular bricks from cracking under high heat. Then, I added some metal grates I picked up. I placed one lower down for charcoal and one higher up for the food.
After letting the mortar dry for a few days, I fired up the grill for the first time. It was a bit of a test run, making sure the airflow was good and the whole thing held together. And let me tell you, that first burger I grilled on it tasted amazing, probably because I was so proud of myself for building the thing.
Maintaining the grill is pretty straightforward. I always clean out the ashes after each use and scrub the grates. I also check for any loose bricks or cracks in the mortar and patch them up if needed. If I don’t use it for a while, I just throw a tarp over it to protect it from the rain and snow.
Here are some tips for keeping it in good shape:
- Clean out ashes after every use.
- Scrub the grates.
- Check for loose bricks or cracks.
- Cover the grill when not in use.
Honestly, building a brick grill was a fun project. It took some time and effort, but now I’ve got a solid, good-looking grill that should last for years. Plus, it’s a great conversation starter when people come over for a barbecue. If you’re thinking about doing it, I’d say go for it! Just be prepared to get your hands dirty and have some patience. Trust me, that first cookout will make it all worthwhile.


