Hey, folks! It’s ya boi back at it again with another weekend project. This time, I set my sights on something I’ve wanted for ages – a proper BBQ pit. You know, the kind where you can slow-cook a whole rack of ribs to fall-off-the-bone perfection? Yeah, that’s the dream. So, I rolled up my sleeves, put on my trusty old boots, and got to work. Here’s how I built my own brick BBQ pit.
Planning and Gathering Supplies
First things first, I picked a spot in my backyard. You want somewhere that’s not too close to the house or any trees – safety first, people! Once the location was locked down, I sketched out a rough design. Nothing fancy, just a basic rectangular pit. I decided to go about 3 feet wide and 5 feet long, which seemed like a good size for my grilling needs.

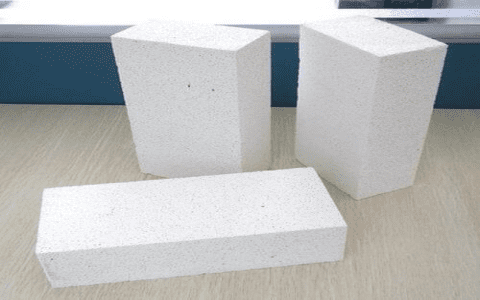
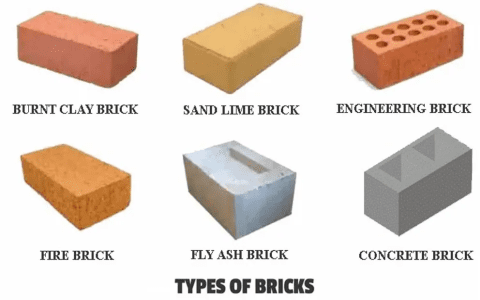
Next, I made a list of everything I needed. I already had some basic tools like a shovel, a level, and a trowel. But I needed to buy the bricks and other materials. I did a bit of reading online and found out that firebricks are the best for the inside of the pit since they can handle super high heat. But for the outer structure, regular bricks would work just fine. I ended up getting about 120 bricks, with around 20 of those being firebricks. Oh, and of course, I grabbed a couple of bags of mortar mix, a metal grate for the coals, and a grill grate to lay on top.
Digging and Laying the Foundation
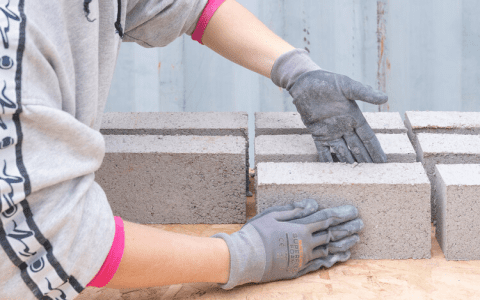
With my supplies in hand, the real work began. I started by digging a shallow trench, about 6 inches deep, where the pit would sit. This was probably the most tiring part, but I pushed through. I wanted to make sure the ground was level, so I spent a good amount of time checking and re-checking with my level. Once the trench was dug, I mixed up a batch of mortar according to the instructions on the bag and laid down a thin layer in the trench. Then, I carefully started placing my bricks, making sure each one was level and snug against the next. It was like a big, heavy puzzle, but satisfying in a way.
Building the Walls
After the base layer was set, I just kept building up. I staggered the bricks for each new layer, like you see on most brick walls, to make it stronger. Every few layers, I checked everything with the level to make sure the walls were straight. For the inside where the fire would be, I used the firebricks, and filled in the rest of the walls with regular bricks. It took the better part of a weekend, but slowly but surely, the pit started to take shape.
Finishing Touches
Once the walls were as high as I wanted them (about waist-high), I let the mortar dry for a couple of days. After that, I placed the coal grate at the bottom of the pit and the grilling grate on top, resting on some of the bricks. And there it was – my very own brick BBQ pit! I couldn’t wait to fire it up. I added some charcoal, lit it up, and tossed on some burgers to break it in. They cooked up perfectly, and I knew this was going to be the start of many delicious BBQs to come. It was hard work, but so worth it in the end. There’s just something special about cooking on something you built with your own two hands.
So, that’s my BBQ pit story. If you’re thinking about building one yourself, go for it! It’s a fun project, and the results are delicious.