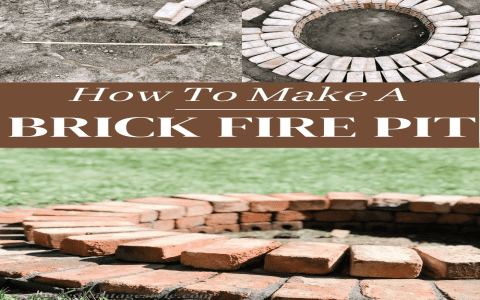
Okay, let’s talk about building a brick oven outdoors. I’ve always wanted one of those in my backyard. I mean, who doesn’t love a good pizza? Or some freshly baked bread? A few months ago, I finally decided to take the plunge and build one myself. It seemed like a huge project at first, but I was determined.
First thing I did was a ton of research. I looked up all sorts of designs and plans online. I also watched some videos to see how others did it. I needed to figure out what kind of oven I wanted and what materials I’d need. That part took a while because there are so many options out there. I finally settled on a simple design that looked doable and wouldn’t break the bank.


Next, I had to gather all the materials. This was a bit of a challenge. I needed bricks, of course, but not just any bricks. You need firebricks that can handle high temperatures. I also needed mortar, sand, and some other stuff. I ended up making a few trips to the hardware store to get everything. That’s the thing. Based on my calculation, the whole cost was around 800 bucks, but you should really get ready for some special tools, which could cost you a lot more.
Once I had all my materials, it was time to start building. I cleared out a spot in my backyard and laid a foundation. This is super important because you need a solid base for the oven. I used concrete for mine, but some people use gravel. I poured the concrete, leveled it out, and let it cure for a few days.
With the foundation set, I started laying bricks. This was the fun part, but also the most time-consuming. I mixed the mortar, which is basically like cement, and started putting the bricks down one by one. I had to make sure everything was level and that I was following the design I chose. It was slow going, but I took my time and made sure each brick was placed just right.
After many hours of work, the walls of the oven started to take shape. I was pretty proud of myself at this point. Once the walls were up, I had to build the dome. This was the trickiest part. I used a form to help shape the dome and carefully placed each brick. It was like putting together a giant, round puzzle.
Once the dome was done, I added a chimney. This is important for ventilation so the smoke has somewhere to go. I also added a door to the front of the oven so I could close it up when it’s not in use.
Finally, after weeks of work, the oven was finished! But I couldn’t use it right away. I had to let it cure for a while, and then I had to do a few small fires to slowly heat it up and get it ready for cooking.
- Prepare the Foundation: Lay a solid foundation of concrete or gravel.
- Gather Materials: Firebricks, mortar, sand, and other necessary supplies.
- Build the Base: Start laying bricks on the foundation, ensuring they are level.
- Construct the Walls: Continue laying bricks to form the walls of the oven.
- Build the Dome: Carefully construct the dome using a form for support.
- Add a Chimney: Install a chimney for proper ventilation.
- Add a Door: If desired, add a door to the front of the oven.
- Curing Process: Allow the oven to cure for several days.
- Initial Firings: Start with small fires to gradually heat up the oven.
The first time I used it, I made pizza. It was amazing! The crust was crispy, and the toppings were cooked perfectly. It tasted so much better than any pizza I’d ever had from a regular oven.
Building a brick oven was a lot of work, but it was totally worth it. Now I have a great place to cook outdoors, and I can impress my friends and family with my homemade pizzas and bread. If you’re thinking about building one, I say go for it! Just be prepared for a lot of hard work, and make sure you do your research. It’s a fun project, and you’ll end up with something really special.


