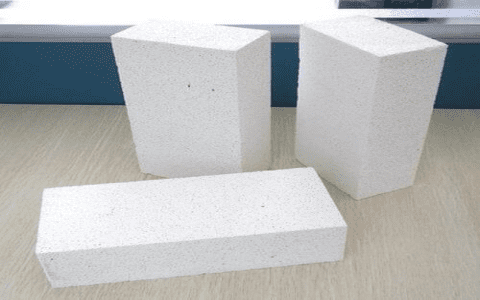
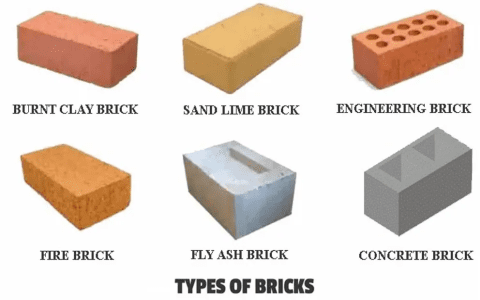
So, I wanted to build a new fireplace, and I thought it would be cool to use something called “black fire brick.” I’d seen it in a couple of fancy homes and it looked really slick. So, I started my project.
Getting Started
First, I needed to find these black fire bricks. I went to a few home improvement stores and asked around. No luck. Most of the guys there looked at me like I was speaking another language. “Black fire brick? Never heard of it,” they said. So I searched the internet. Finally, I found a place that sold them, but they were not in the color black that I wanted.


The Hunt Continues
I ordered some samples from different places. Some were too gray, others were more like charcoal, not the deep black I was imagining. It took a while, but I finally found a supplier that had exactly what I wanted. They called it “Midnight Black Fire Brick.” Perfect!
Buying the Bricks
Next, I figured out how many bricks I needed. I measured my fireplace area, did some math (which I’m not great at), and added a few extra for mistakes. Then, I placed the order. It was a bit pricey, but hey, I was going for a specific look.
Delivery Day
A few weeks later, a big truck showed up at my house. The driver unloaded a bunch of heavy boxes filled with these beautiful black bricks. I was excited! I started to carry them to my backyard, where I planned to build the fireplace.
Building Process
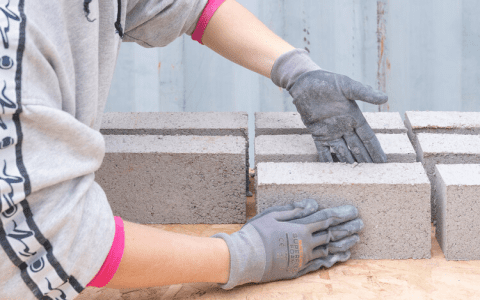
I watched a few videos on how to lay bricks. It looked simple enough, but it’s harder than it looks. I mixed the mortar, which is like a special glue for bricks. Then, I started laying the bricks one by one, following the design I sketched earlier.
- First Row: This was the trickiest. Getting it straight and level was super important.
- Mortar: I learned to apply just the right amount. Too much and it squishes out; too little and the bricks won’t stick well.
- Cutting Bricks: Some bricks needed to be cut to fit. I used a chisel and a hammer, which was kind of fun but also a bit scary.
It took several days of hard work. My back was killing me, and my hands were rough, but I kept going. Slowly but surely, the fireplace started to take shape.
The Final Touches
After laying all the bricks, I had to let the mortar dry for a few days. Then, I cleaned up the excess mortar and admired my work. It looked amazing! The black fire bricks gave it a modern, elegant look, just like I wanted.
Finally, I built a fire in my new fireplace. The way the flames reflected off the black bricks was mesmerizing. It was totally worth all the effort. Now I have a unique, stylish fireplace that’s the centerpiece of my backyard. And I can proudly say, “I built that!”
So yeah, that’s the story of how I got my black fire brick fireplace. It was a journey, but a rewarding one. I even picked up some new skills along the way. If anyone’s thinking about a similar project, I’d say go for it, but be prepared for some hard work and a bit of adventure!


