Well now, if yer lookin’ to make yerself some firebricks, ain’t no need to go rushin’ off to some fancy shop or whatnot. Nope, it ain’t that hard, I tell ya. I’ve seen folks do it right here in the ol’ backyard, and I reckon if they can do it, so can you. So, sit tight, and I’ll walk ya through how to make firebrick step by step.
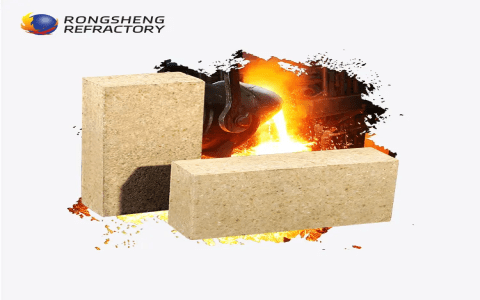
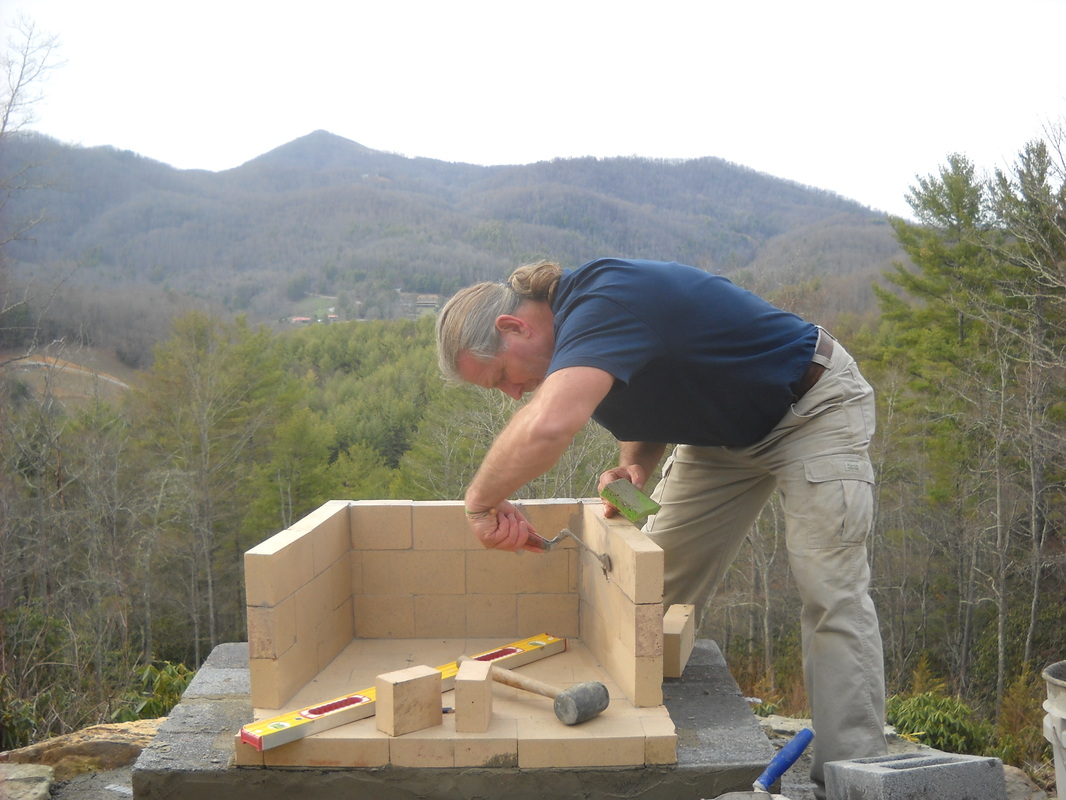
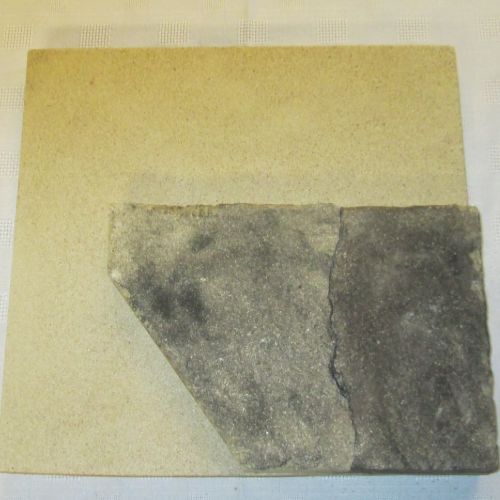
First thing ya gotta know is what firebricks are. Now, don’t get it mixed up with regular ol’ bricks. Firebricks, they’re special. Made from fire clay, they can take the heat without crumblin’ apart. Folks use ’em in kilns, ovens, chimneys, and sometimes even to line their furnaces. I reckon ya’ll know how hot them things get, so ya need somethin’ that won’t melt or fall apart, right? That’s where firebricks come in handy.

Step 1: Gather Yer Materials
Now, like I said before, firebricks are mostly made from fire clay. You can find it in the soil in some places, but if you ain’t sure where to look, you can always buy it at the store. Along with the fire clay, you’ll need some sand and maybe a bit of limestone, depending on what kind of firebrick yer makin’. Some folks like to add a bit of alumina or even magnesia to the mix, but ya don’t have to if you ain’t got access to it. Sand helps with the texture, makes it easier to handle, so don’t skimp on it.
Step 2: Mix the Ingredients
Once you got yer materials together, it’s time to mix ’em up. Now, I ain’t talkin’ about mixin’ it in a fancy machine or nuthin’. You can do it right by hand. Take your fire clay, and mix it with sand. The more sand ya add, the more heat resistant your bricks will be. But, don’t go overboard, or the brick won’t hold together well. A good ratio is about 2 parts fire clay to 1 part sand. If you’re makin’ them for something real high-heat like a kiln, maybe you wanna add a little more clay, but for the average fireplace or oven, 2 to 1 should do the trick.
Once ya got it mixed up good, it’ll be a little damp and sticky, but that’s alright. If it’s too dry, add a bit of water. If it’s too wet, add more sand or clay. Just make sure it’s the right consistency, kinda like play-dough. Ya don’t want it runny, but it can’t be too stiff either.
Step 3: Shape the Bricks
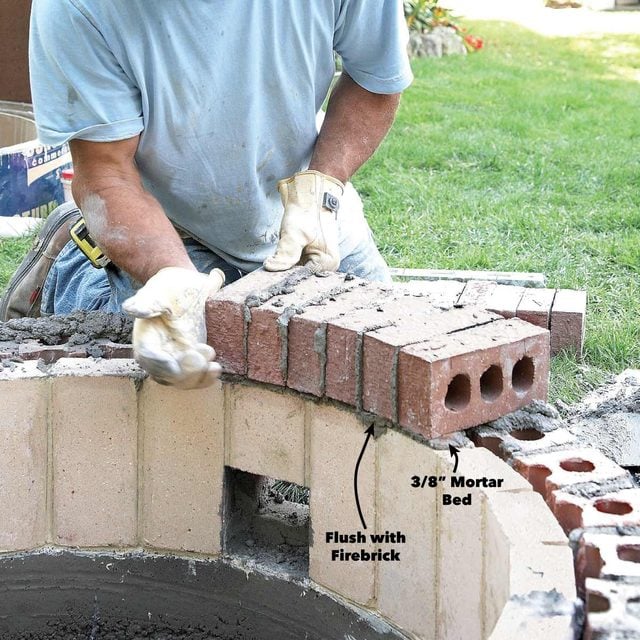
Next thing ya gotta do is shape ’em into bricks. This here’s the fun part. You can use a mold if ya got one, or just shape ’em by hand. Most firebricks come in a standard size, about 9 inches by 4 and a half inches by 3 inches. That’s the most common size, but if ya need smaller ones, you can just make ’em the way ya want. Just make sure they’re all about the same size, or it’ll mess up when you try to stack ‘em later.
Now, don’t be shy, pack that clay mix in tight! If yer hand-moldin’ it, just press the mixture in the shape and smooth out the edges. If ya using a mold, make sure to press the mixture into the mold real good, so there ain’t no air pockets or gaps in the brick.

Step 4: Dry ‘Em Out
Once your bricks are shaped, ya gotta let ‘em dry. Now, don’t go rushin’ things by stickin’ ‘em in the oven or a fire or nothin’. Just let ‘em dry naturally. Put ’em on a flat surface, like a table or the ground, and leave ‘em alone for a day or two. Ain’t no hurry. You’ll know they’re ready when they don’t feel sticky to the touch no more.
Step 5: Fire ‘Em Up
Now, this is the big part, where it all comes together. To make firebricks, you gotta fire ’em in a kiln or some kind of oven that gets real hot. You’re lookin’ at temperatures over 1,000°F (about 538°C). If you don’t have a kiln, you can use a homemade one, just make sure it gets hot enough to bake the bricks thoroughly. The heat makes the clay harden and turn into something that can handle all that heat from a fire.
If you don’t have a fancy kiln, ya can just build a small wood-fired furnace or use an old metal drum. But ya gotta be careful not to overheat ‘em too quick or they might crack. Gradually raise the temperature until ya reach about 1,200°F (650°C). Keep ‘em in the heat for a few hours, then turn the temperature down slowly to avoid any cracks. After they’ve been fired, let ‘em cool down naturally, don’t rush it.
Step 6: Test ‘Em Out
Once your bricks are cool and dry, it’s time to give ‘em a good test. You can smack ‘em together a bit to see if they crack, or if they just make a nice solid thud. If they’re tough and don’t crumble, you did it right! If not, well, don’t fret. Just figure out where ya might’ve gone wrong and try again next time.
And that’s it! You’ve made yourself some firebricks. They’re ready to use in your kiln, stove, oven, or wherever you need ‘em. Ain’t no need for fancy equipment or expensive materials. Just some basic stuff, a little patience, and a whole lotta elbow grease.

Tags:[firebrick, how to make firebrick, homemade firebricks, fire clay, making firebricks, DIY firebrick, kiln bricks, high heat bricks, refractory bricks, firebrick tutorial]
