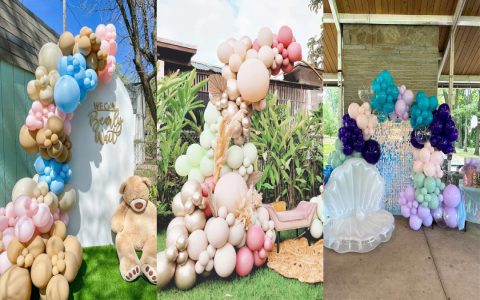
Creating a jacket balloon sculpture adds whimsy to events. Follow these precise steps for reliable results.
Essential Materials
- Two 260Q modelling balloons (main color)
- One 260Q modelling balloon (accent color, e.g., black)
- High-quality hand pump
Step-by-Step Construction
Form the Body Outline: Inflate one main-color balloon fully, leaving 2 inches uninflated. Create a large loop by tying ends together, forming the jacket's base circumference.
Shape the Collar:
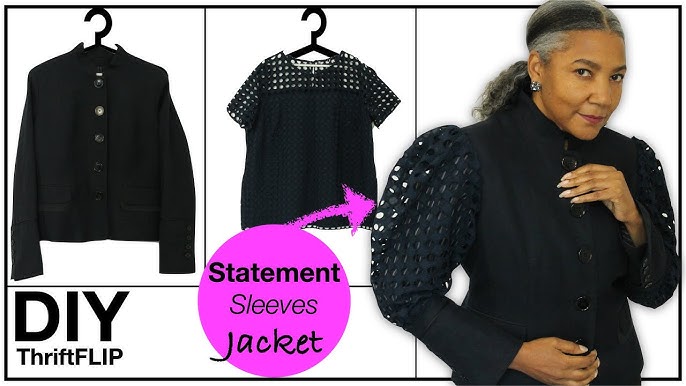
- Inflate accent balloon 2/3 full
- Make a 1-inch bubble followed by a 1.5-inch loop (collar front)
- Create 4-inch twist for the back collar segment
- Securely lock both ends
Attach Sleeves:
- Inflate second main balloon fully, reserve 2 inches
- Divide into two equal-length cylinders
- Align center points with body loop
- Lock twist sleeves onto opposite sides of the body
Final Assembly: Position collar piece vertically at the top of the body loop. Secure using pinch twists on both sides, ensuring balanced tension.
Pro Tips for Durability
- Degrease balloons before inflation with rubbing alcohol
- Maintain consistent pressure while inflating
- Perform lock twists with three full rotations
- Store in stable 65-75°F environment
Safety Note: Always wear protective eyewear during construction. Balloon rupture can cause eye injury. Work on clean, smooth surfaces to prevent premature popping.
Experiment with scale by using size 360 balloons for larger installations. Practice twisting fundamentals thrice before attempting complex closures to ensure structural integrity. This project takes approximately 7 minutes after mastering basic twists.

