barbecue enthusiasts! Let’s talk about building a brick smoker. It’s a fantastic project for the DIY-er in you, and the payoff? You’ll have a beautiful, durable smoker that will be the envy of your neighborhood (and you’ll be the king or queen of the backyard!).
I’ve always been fascinated by the idea of building a brick smoker. There’s something really satisfying about creating something with your own two hands, and knowing that you’re making a piece of equipment that will last for years.


So, what are we building?
We’re going for a classic brick smoker design. Think sturdy, timeless, and a bit rustic. It’s the kind of smoker that will add character to your backyard and become a cherished part of your grilling experience.
Where to start?
First, let’s talk about the basics. You’ll need some basic materials, including:
Concrete blocks: These are the foundation of your smoker, so get good quality ones!
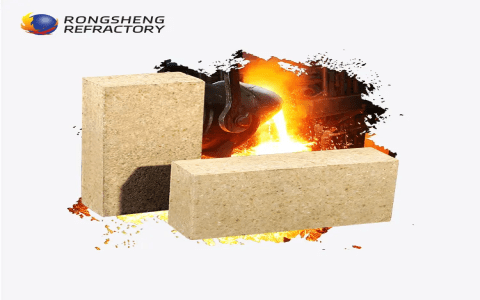
Firebricks: These are essential for lining the firebox and cooking chamber to withstand the heat.
Mortar: This holds everything together, so make sure to use a heat-resistant mortar specifically designed for outdoor applications.
Steel door: You’ll need a heavy-duty steel door for the firebox and a smaller door for the cooking chamber.


Other hardware: This includes things like hinges, handles, a grate for the cooking chamber, and potentially a chimney.
Planning is key:
Before you start, make sure to have a good plan. Think about the size you want, the type of food you want to smoke (think about how much space you’ll need!), and the features you want (like a water pan or a thermometer).
A little bit of guidance:
If you’re not super familiar with building projects, don’t worry! There are tons of resources online and in books that can guide you through the process. I’d recommend finding some blueprints or detailed instructions to follow.
Don’t be afraid to ask for help:
One of the best things about building a brick smoker is that it’s a great project to do with friends or family. You can learn from each other, share the work, and have some fun in the process. If you’re not comfortable with some of the tasks, don’t hesitate to ask for help from a friend who’s a little more experienced.
The beauty of building a brick smoker:


Building a brick smoker isn’t just about creating a piece of equipment. It’s about the process of creation itself. It’s about learning new skills, taking on a challenge, and building something that’s unique and personal.
Here’s a little breakdown of the process:
1. Prepare the base: Start by building a solid base for your smoker. You’ll need a level and flat surface that can handle the weight of the smoker.
2. Laying the blocks: Use your blueprints as your guide. This is the heart of the construction. Be sure to use plenty of mortar and check your work as you go!
3. Firebrick lining: Now it’s time to line your firebox and cooking chamber with firebricks. This step requires precision, but it’s crucial to make sure everything fits well and the lining is secure.
4. Installing the doors: Once your lining is set, you can install the doors. You might need to cut the doors to size. Make sure the hinges are sturdy!
5. Finishing touches: After installing the doors, you’ll need to build the chimney and install the cooking grate.
6. Curing: Allow the mortar to cure completely before you start using your smoker.


Let’s talk materials:
Here’s a breakdown of some key materials and their costs:
| Material | Quantity | Cost (USD) |
|---|---|---|
| Concrete blocks | 100-120 | $200 – $300 |
| Firebricks | 100-150 | $100 – $200 |
| Mortar | 5-10 bags | $50 – $100 |
| Steel door (firebox) | 1 | $50 – $100 |
| Steel door (cooking) | 1 | $25 – $50 |
| Hinges | 2+ | $10 – $20 |
| Handles | 2+ | $10 – $20 |
| Cooking grate | 1 | $20 – $50 |
| Chimney | 1 | $20 – $50 |
Remember: These are estimated costs, and your actual cost may vary depending on your location and the materials you choose.
It’s not just about the smoker:
Building a brick smoker is about more than just having a great piece of equipment. It’s about the journey, the shared experiences, and the pride of building something with your own hands. So, take your time, have fun, and enjoy the process!
What’s your favorite part of backyard cooking? Share your stories and experiences in the comments below!


